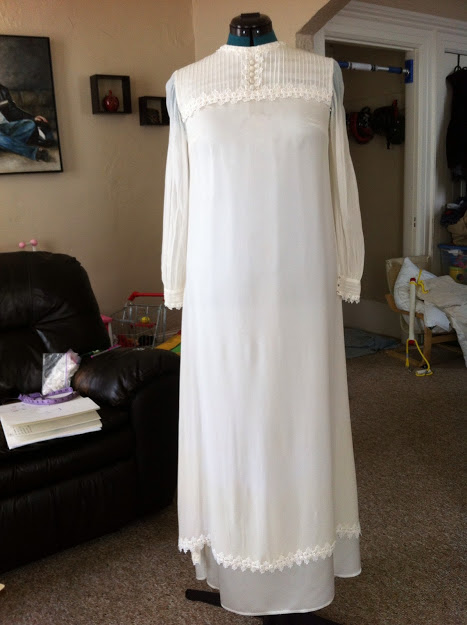
A friend of mine came to me with a request. She was getting married and wanted to know if there was some way to refashion her mom’s wedding gown and make it… not so sixties. Of course the answer was yes! I took a look at the gown for stability and wear, and it seemed to be in pretty decent shape. It was a silk crepe over a satin underlayer, and though it was worn and splitting in a few places, I was fairly certain we could use it.
First step was to design what she really WANTED to wear. We settled on something along these lines:
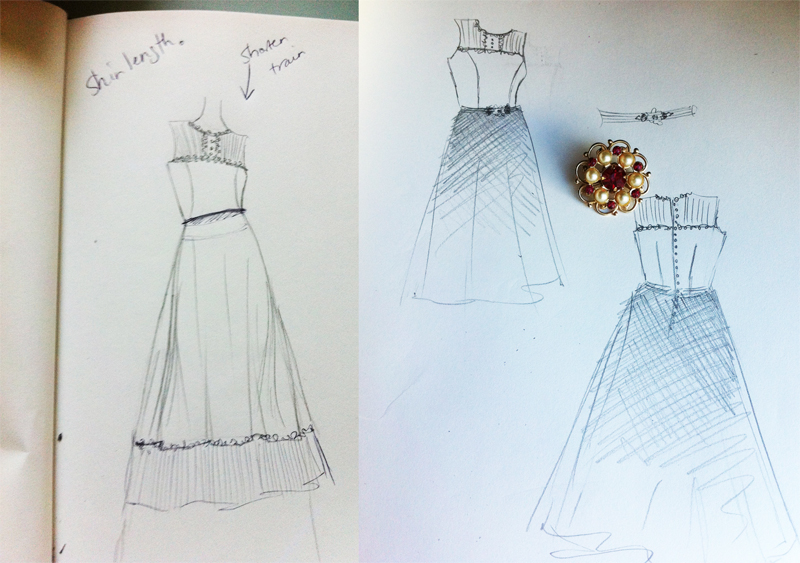
Next we had to choose materials… did she want to match the silk crepe (that would be hard as there was some yellowing) or did she want to pick a silk or satin that would complement it? Her decision was easy, she wanted a more modern wedding gown with a red skirt!
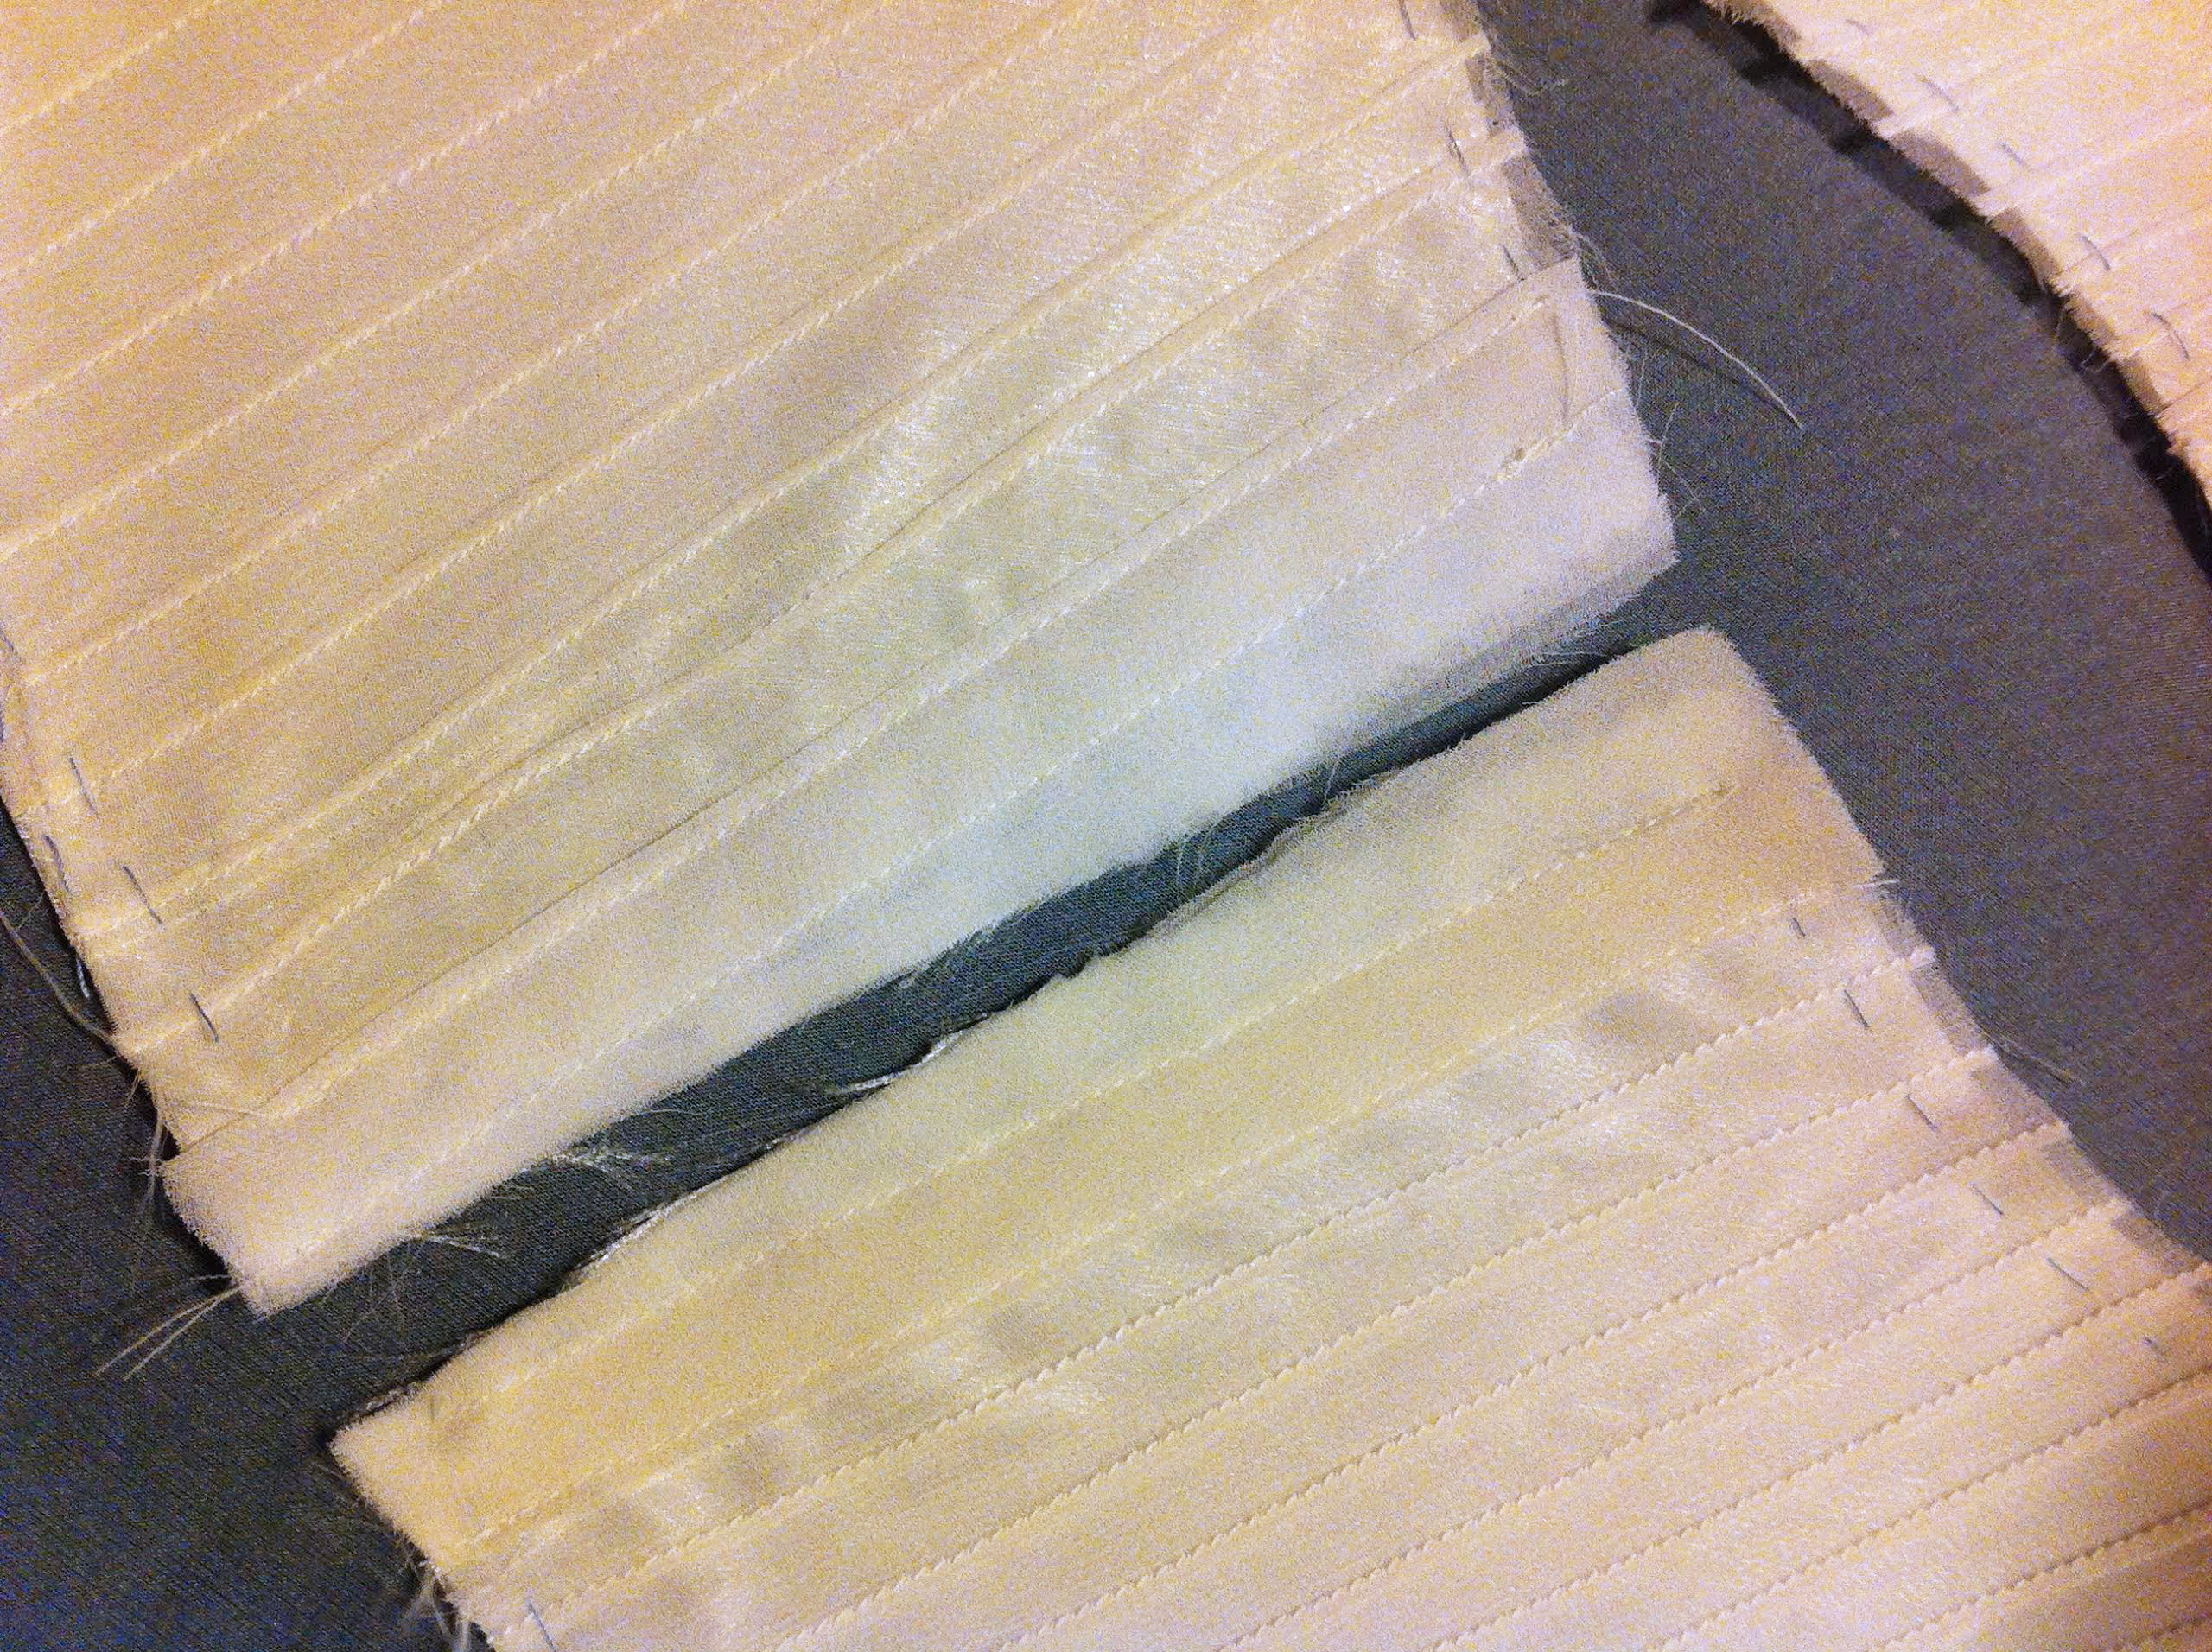
So I began by disassembling the gown and drafting a pattern that would work with the pieces we would be able to salvage. I then created a muslin to get the perfect fit. We had our initial fitting, made some adjustments and I got to work. I removed all of the old, yellowed buttons, and used a silk organza as an underlining, hand basting it to the satin with silk thread.
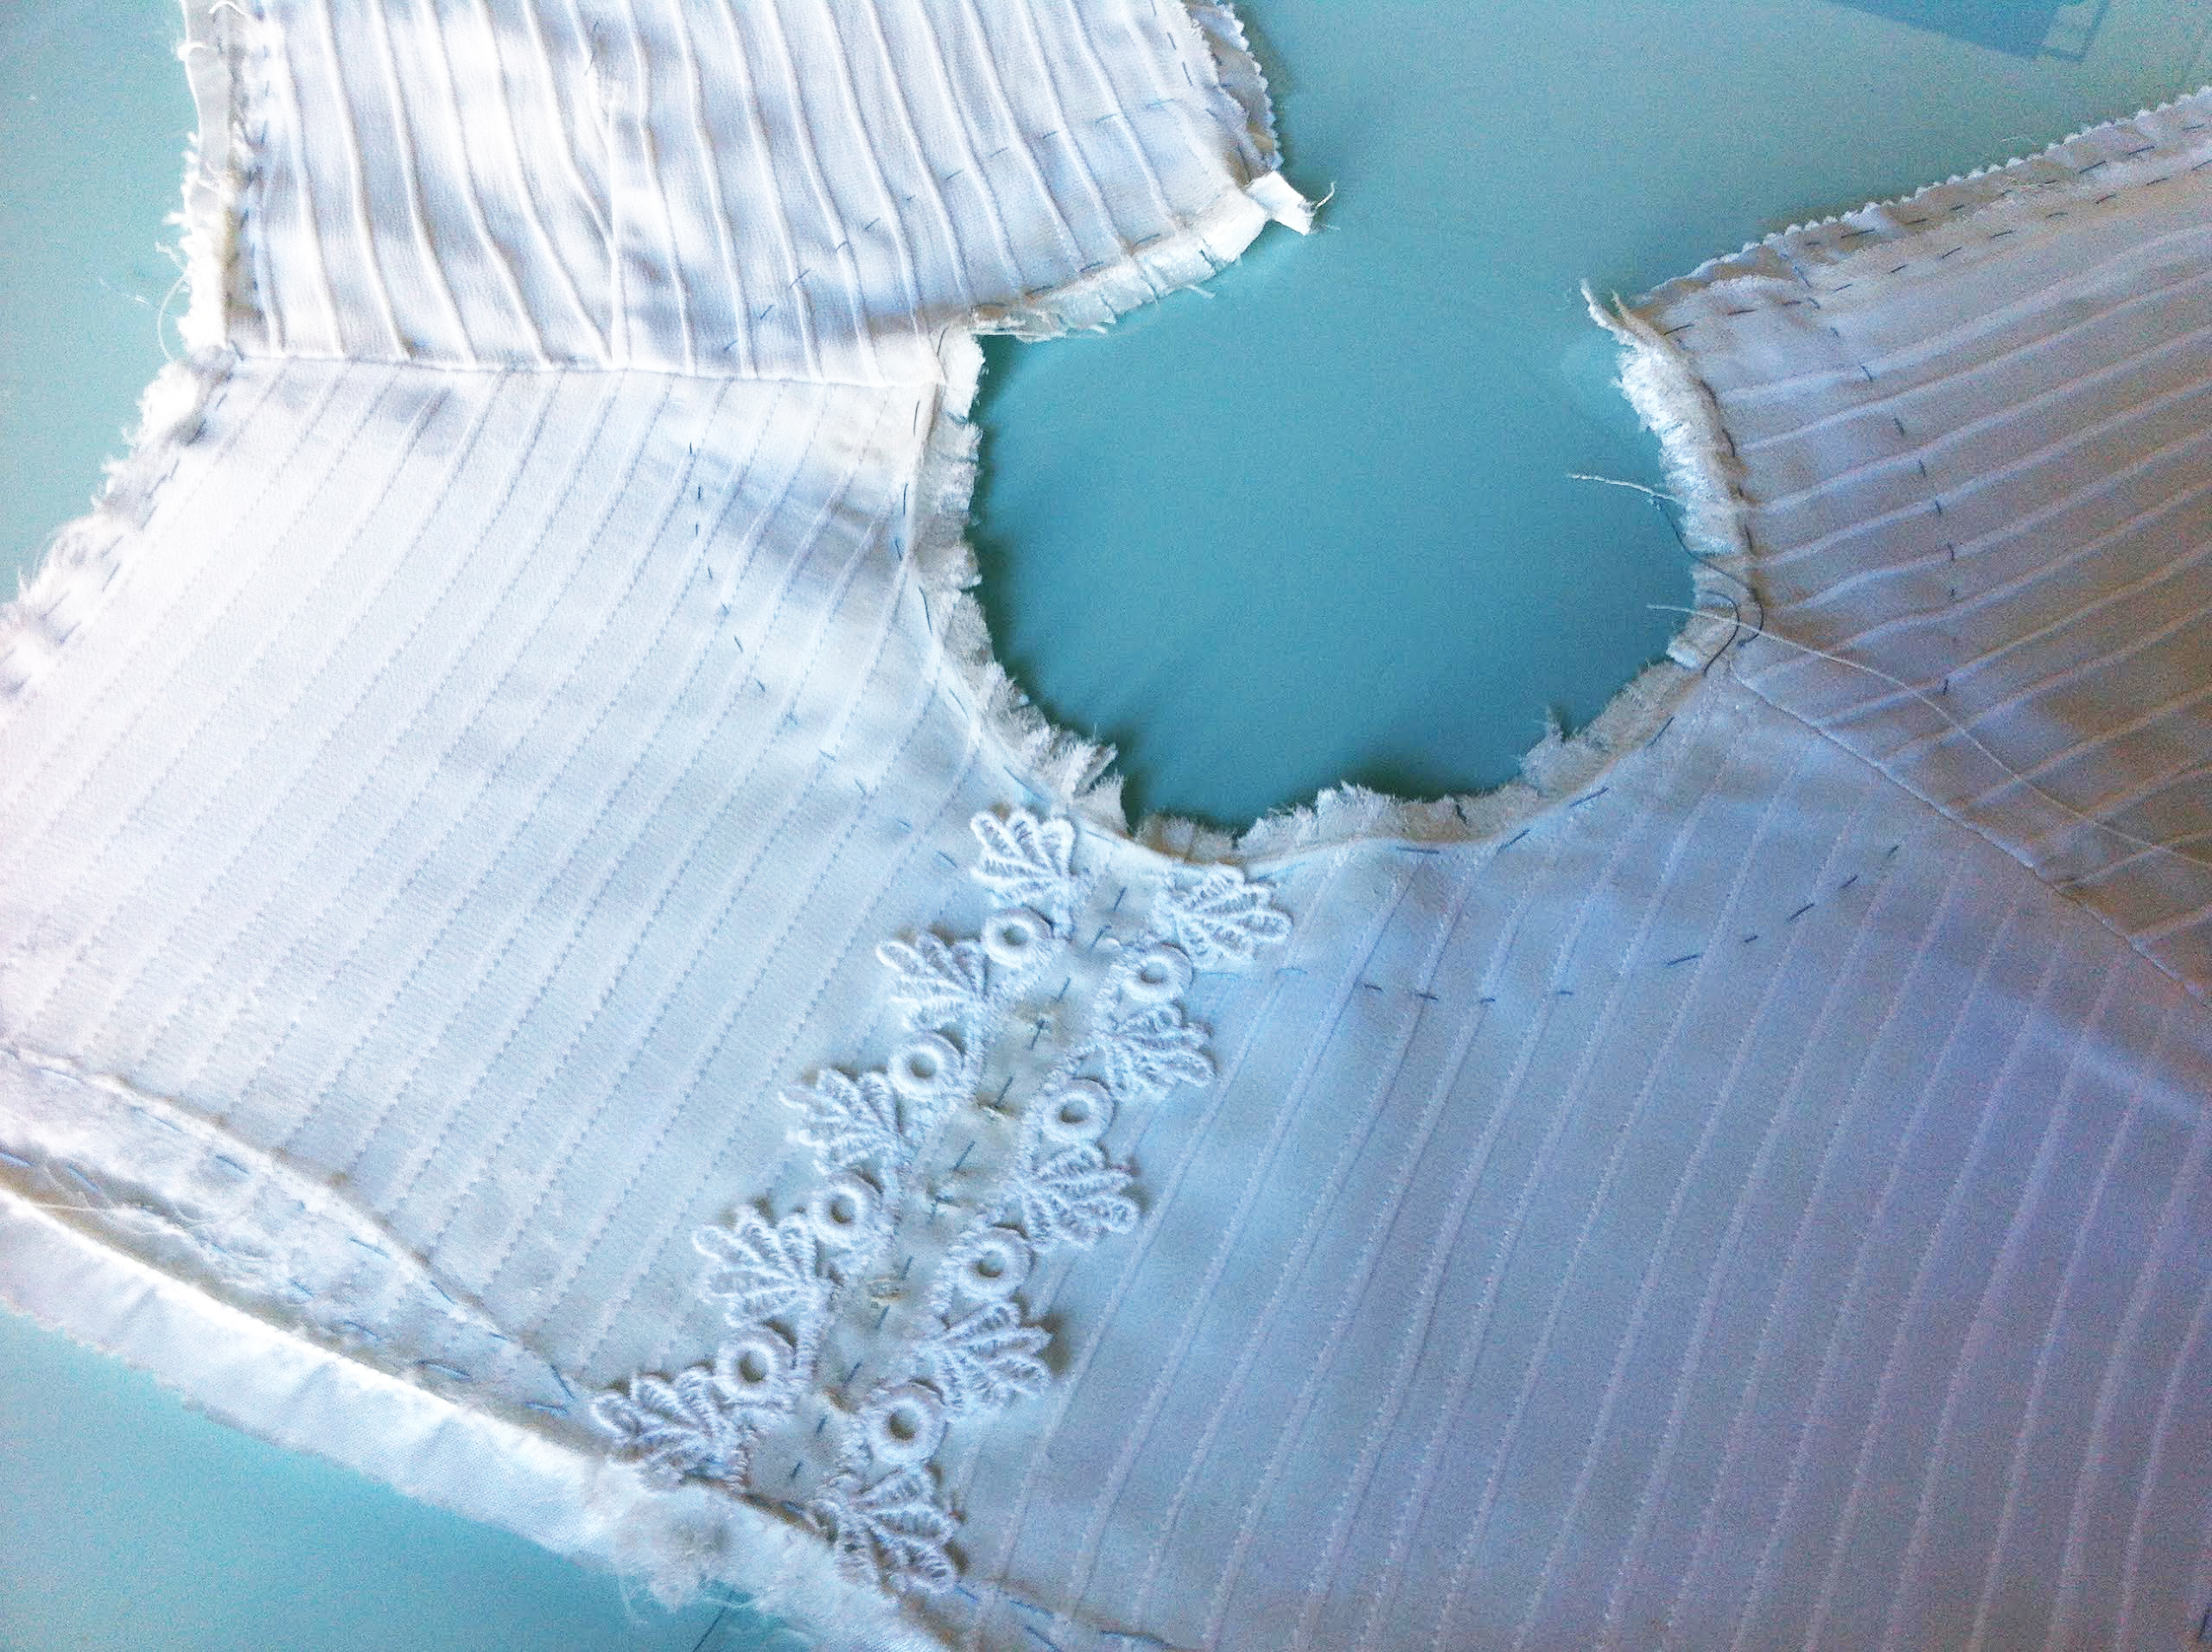

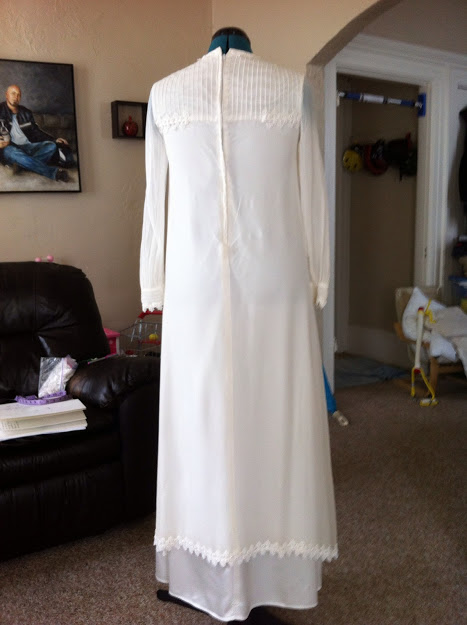
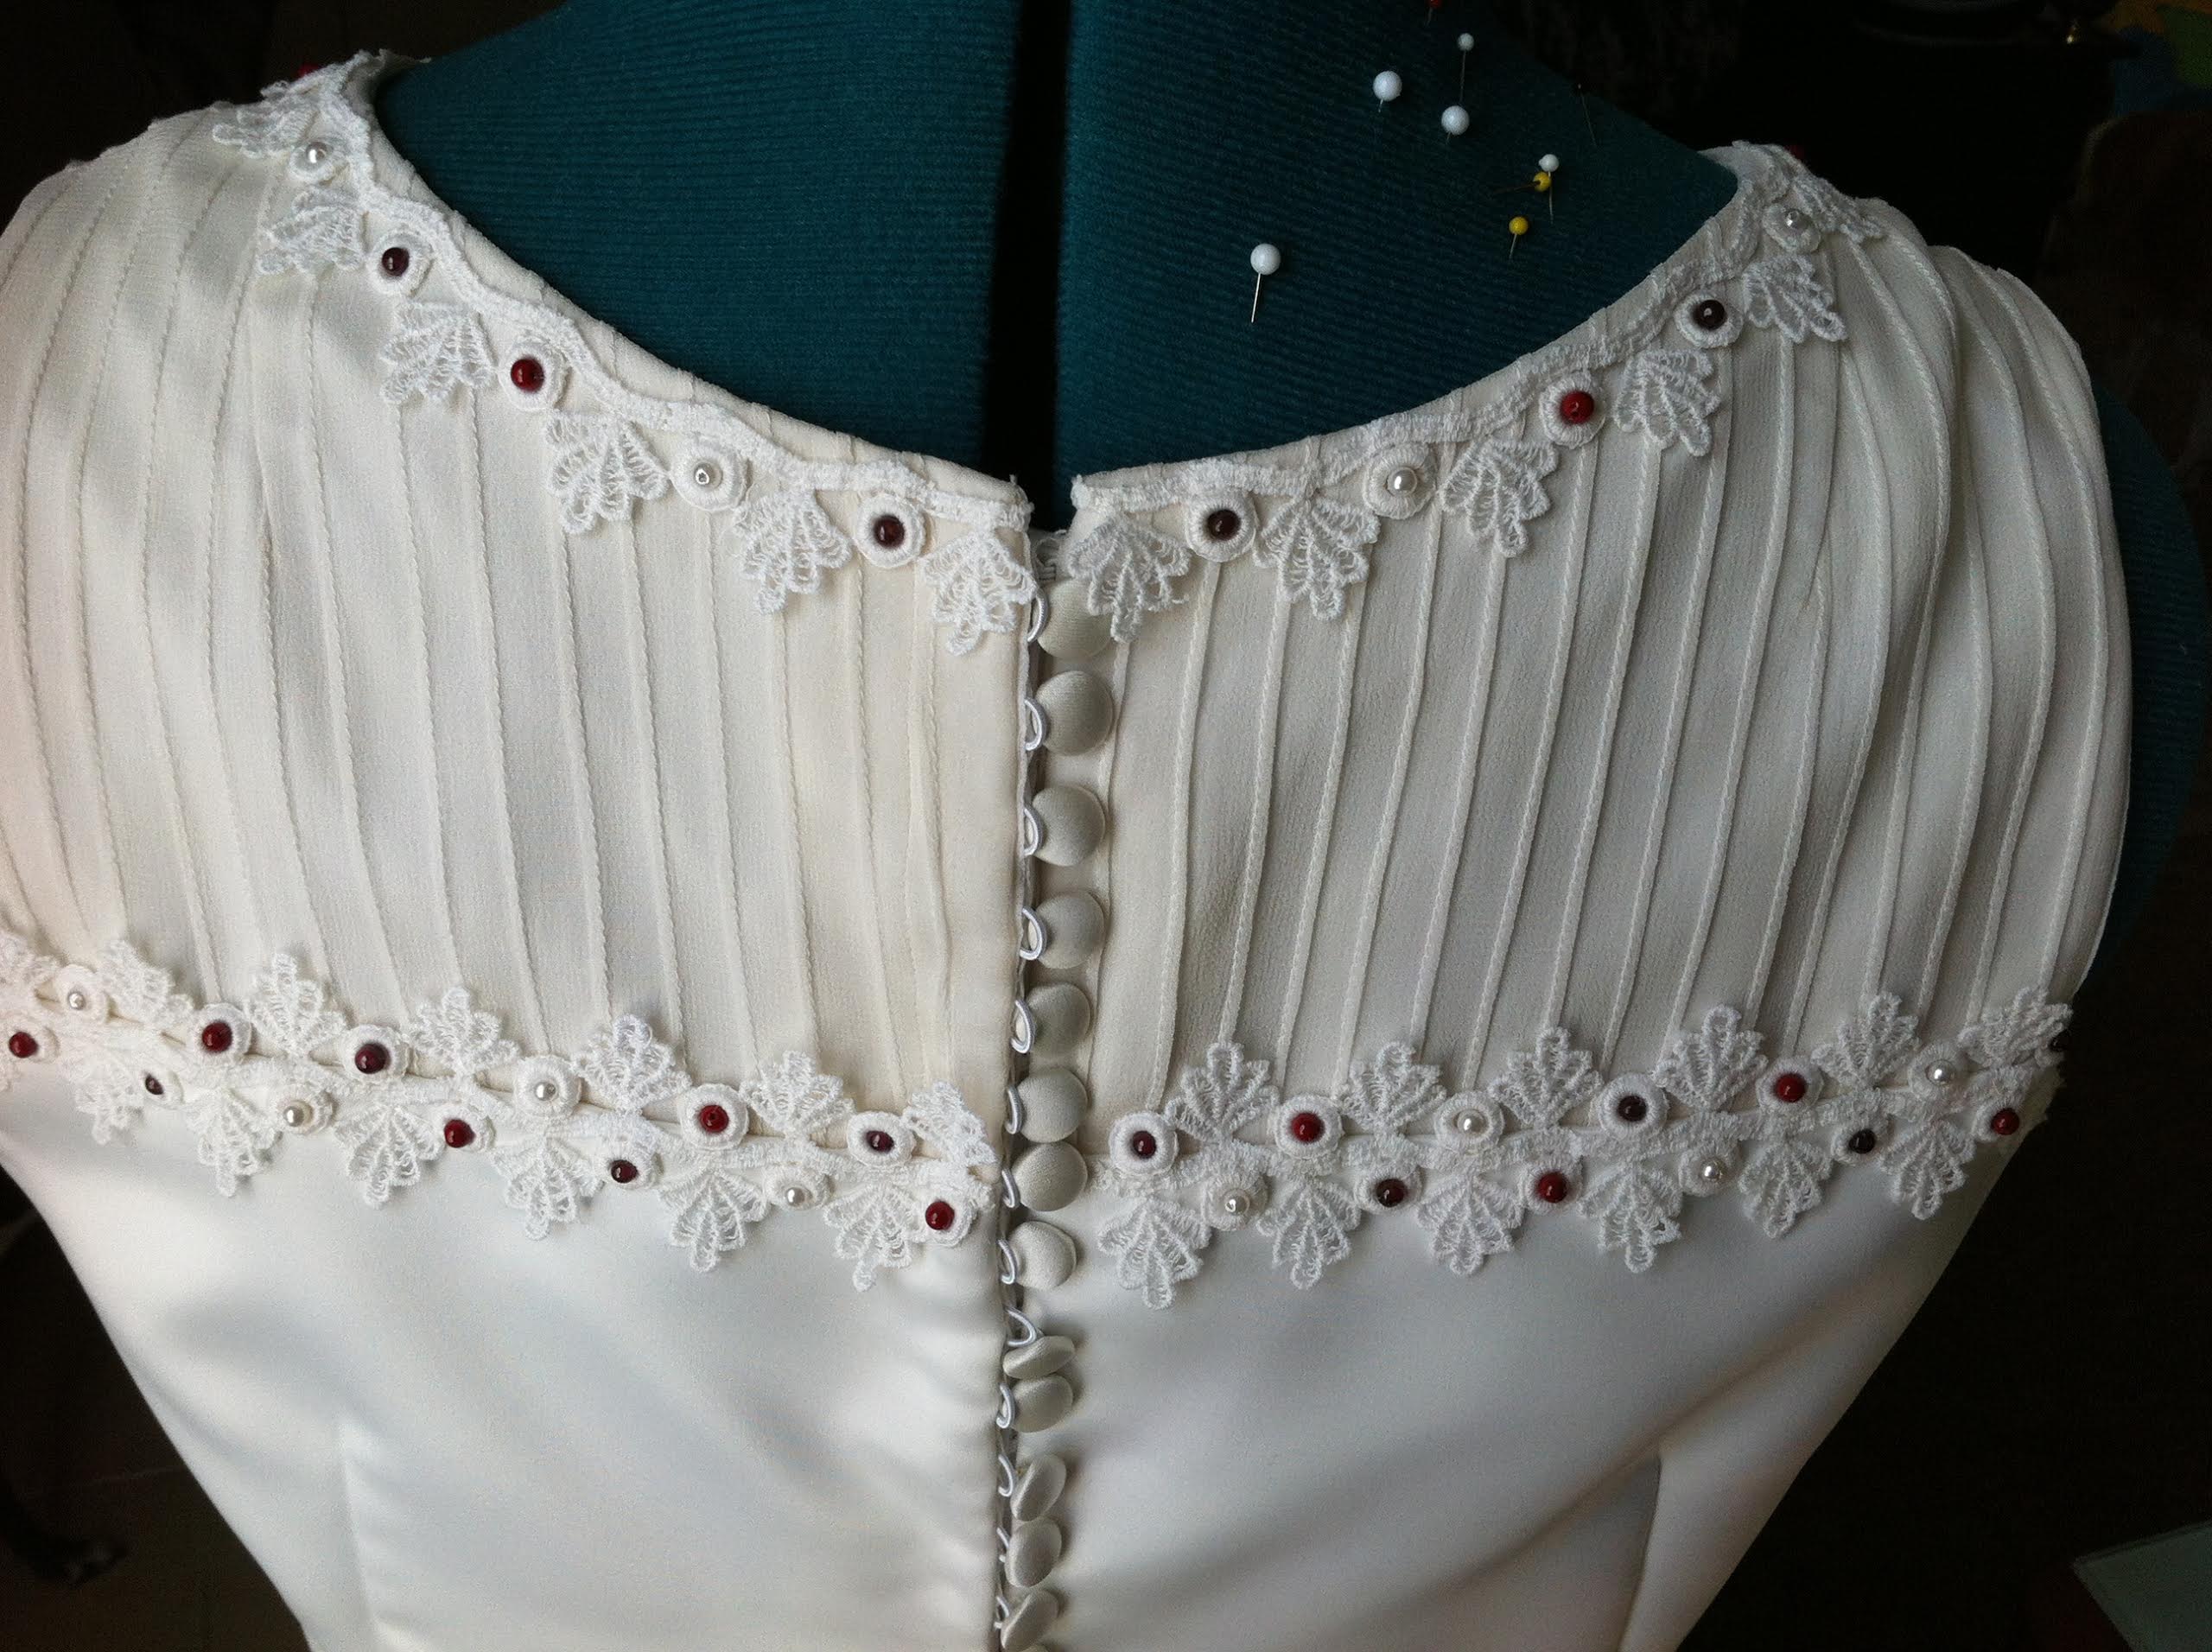
I discovered that the back was not going to have enough of the pintucked silk as I was constructing it, so I made more to match perfectly from a scrap gathered from the skirt of the original gown. Once assembled the addition would be unnoticeable.
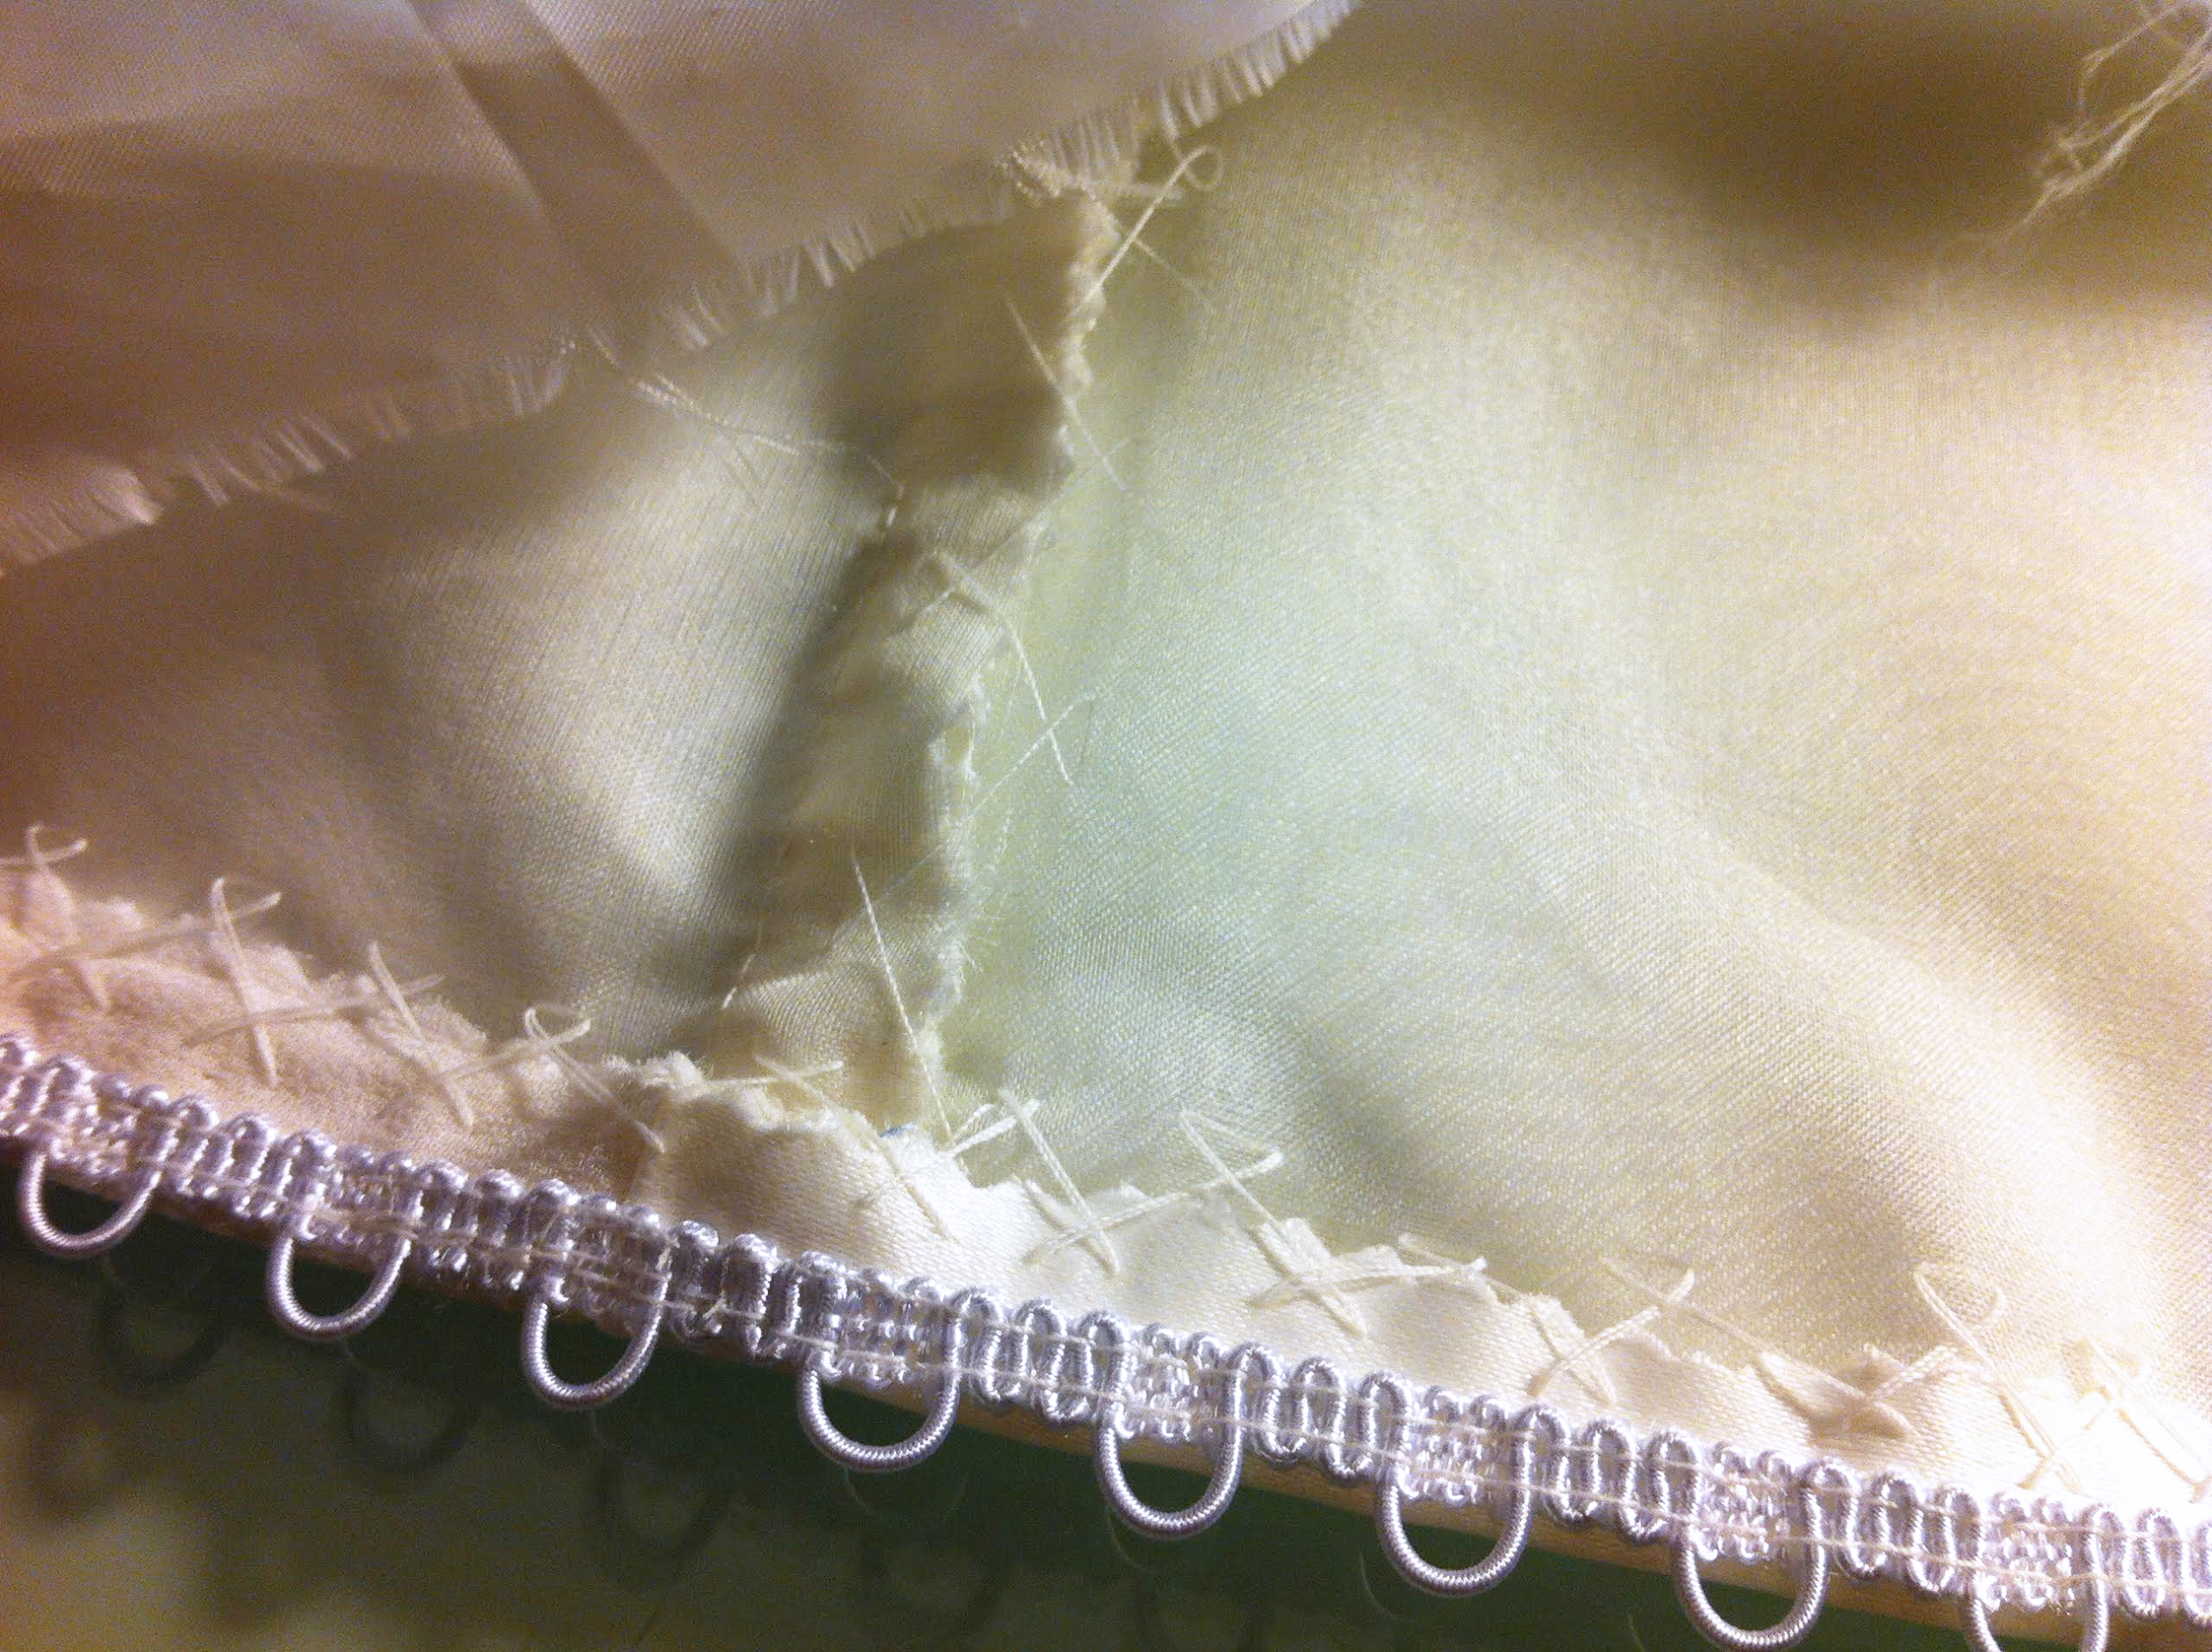
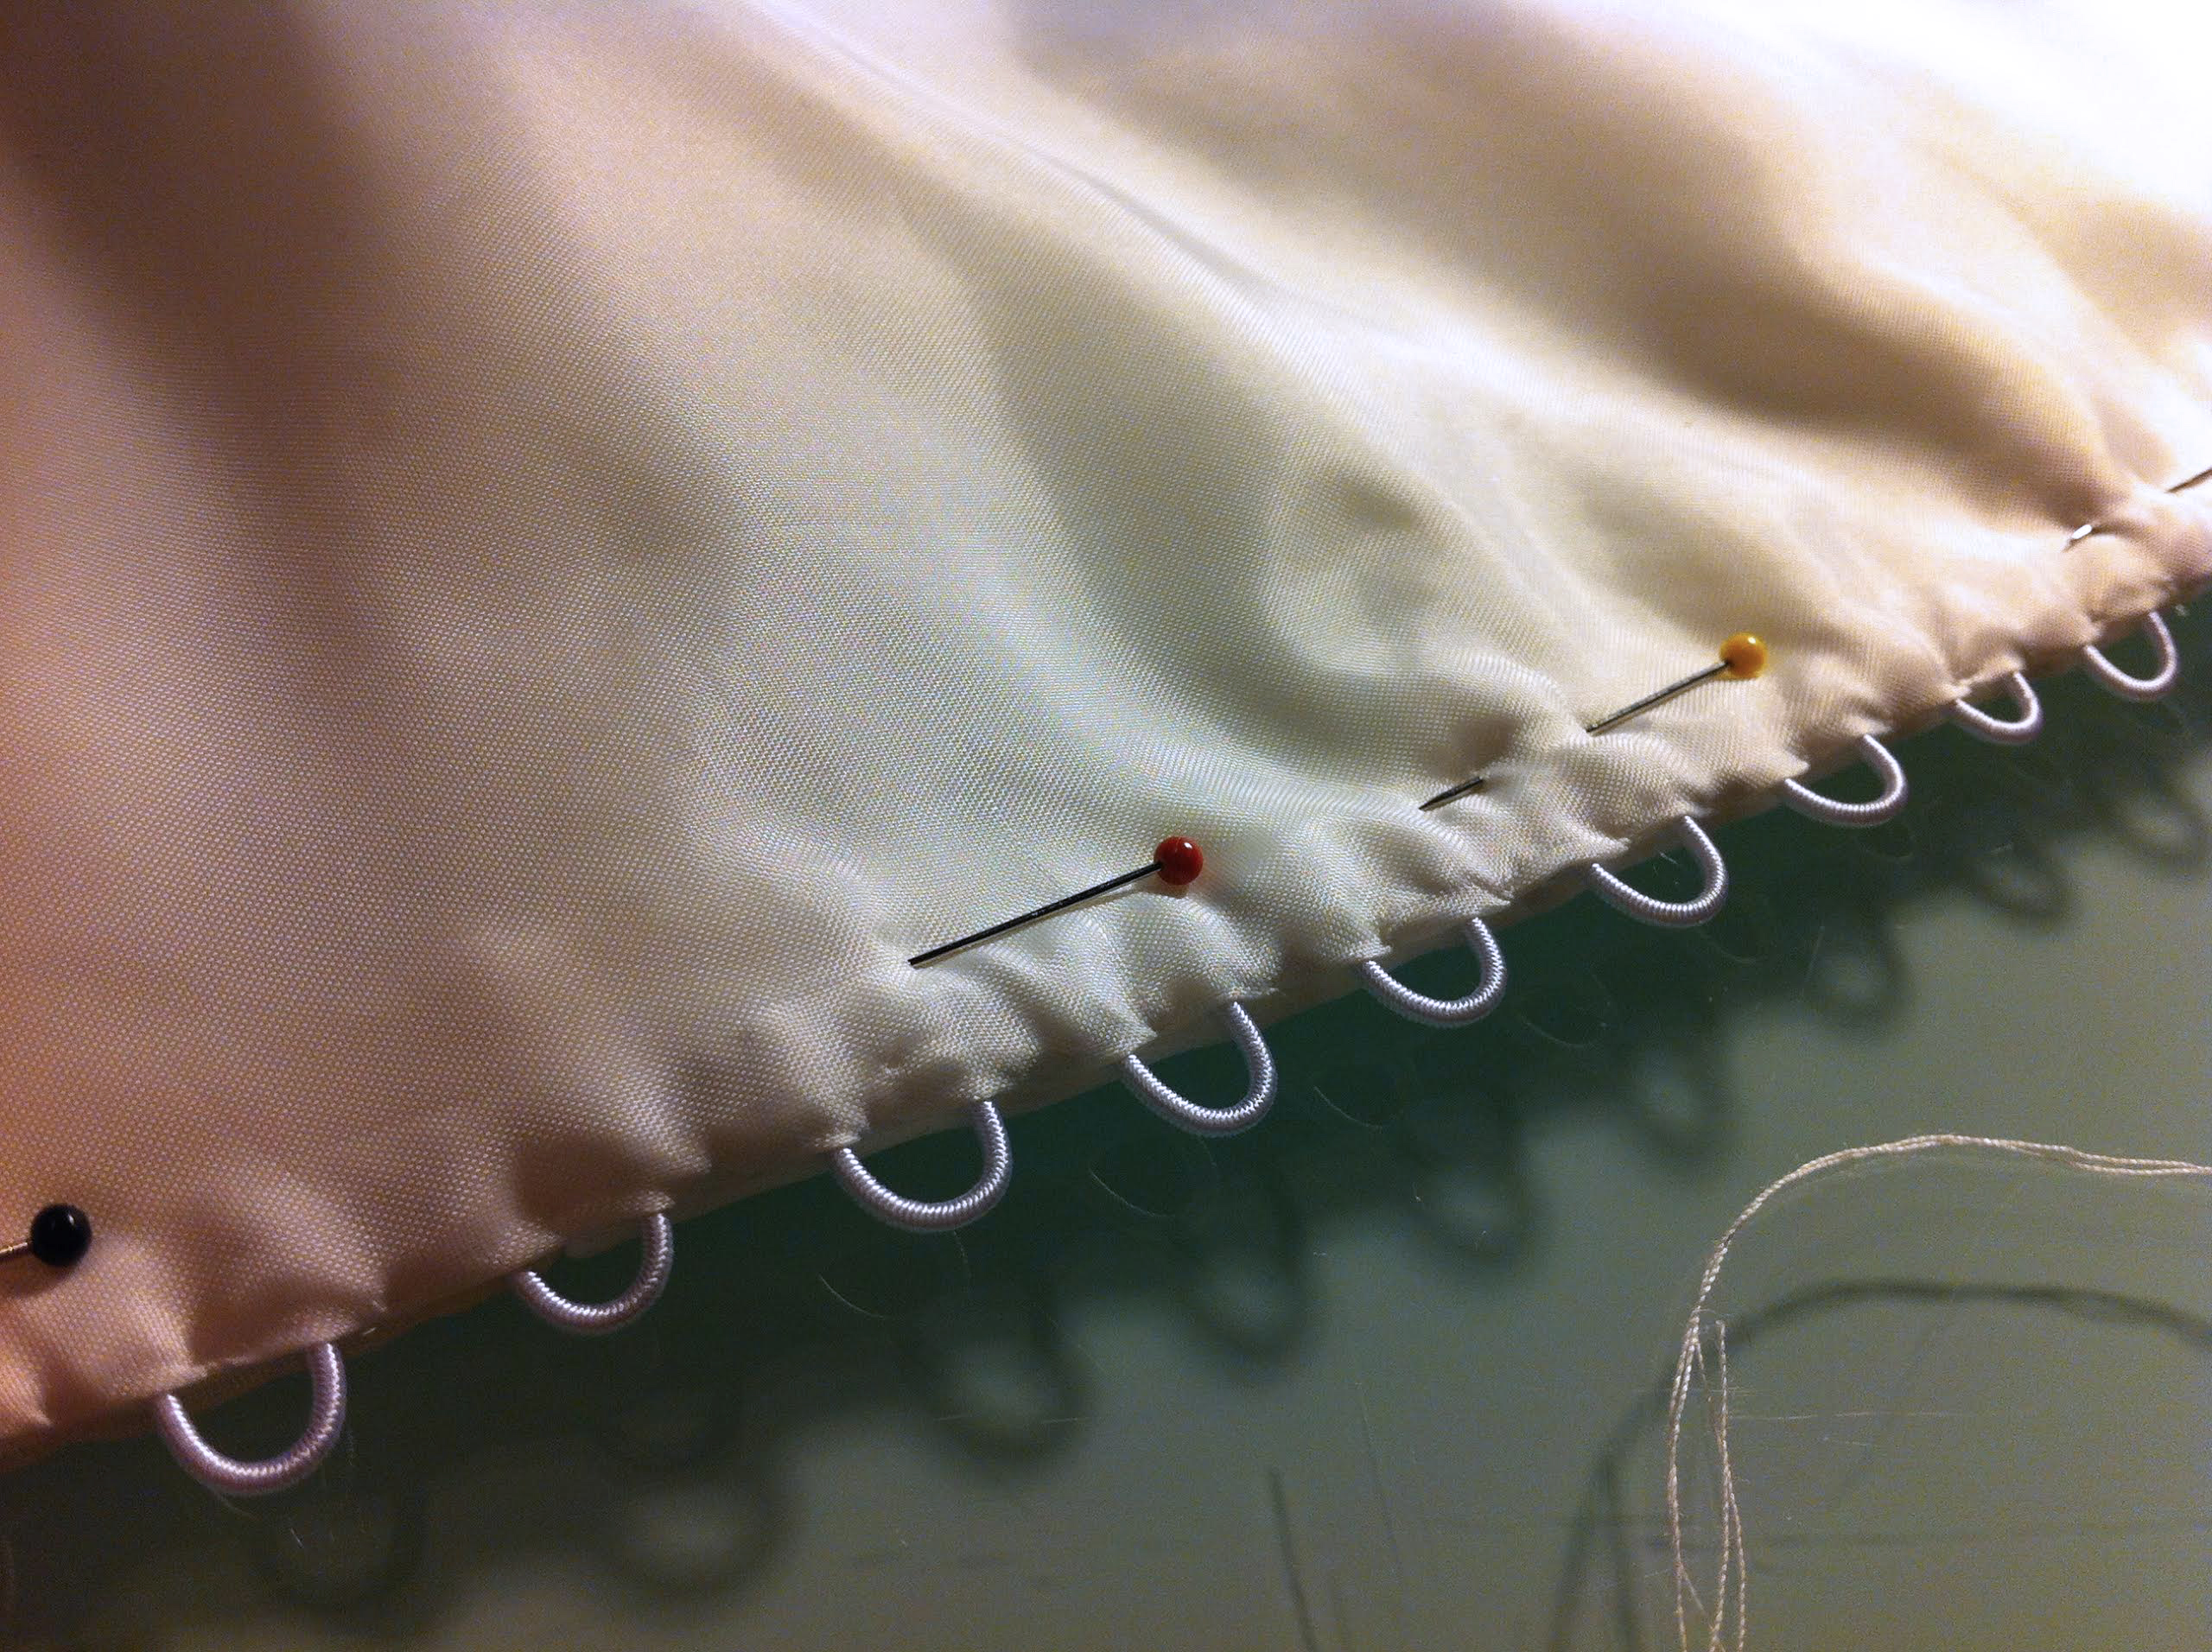
We decided to have the gown button up the back (the original one used a zipper with fake buttons). I hand covered all of the buttons using leftover pieces of the ivory and maroon satin to match the gown—there were 40 in all. I added some hook and loop closures as well as a thin privacy panel, as buttons loops aren’t always so sturdy.
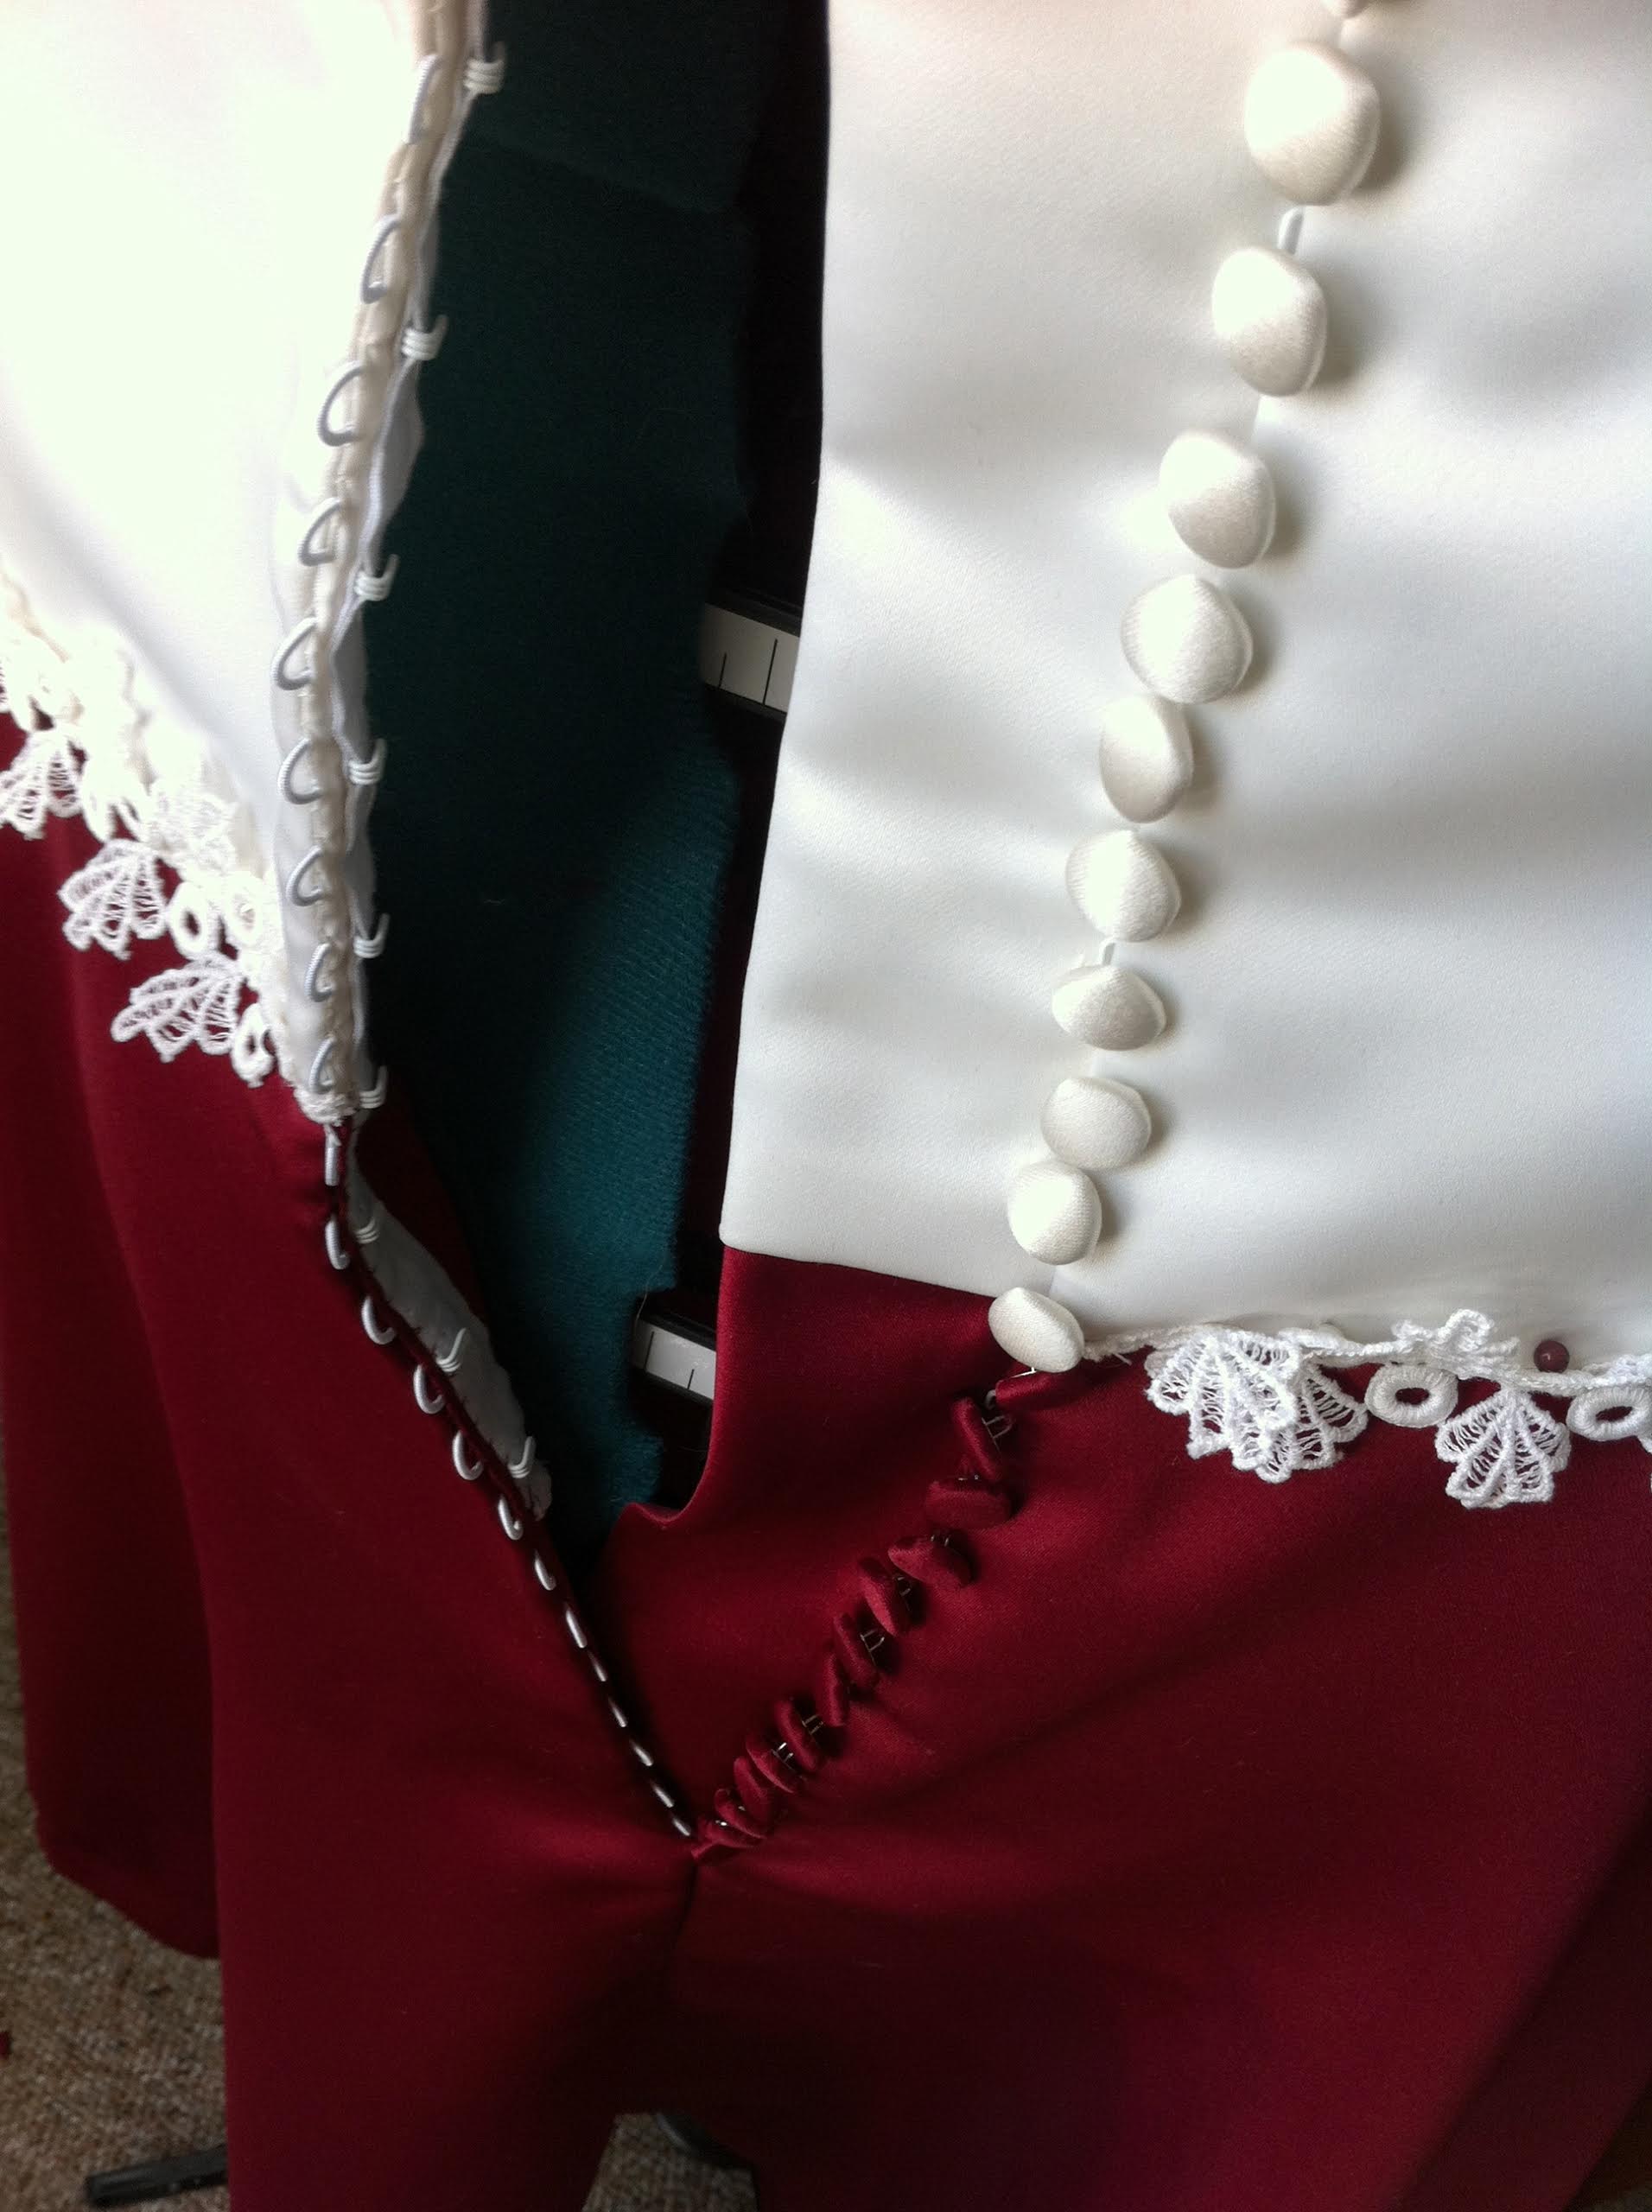
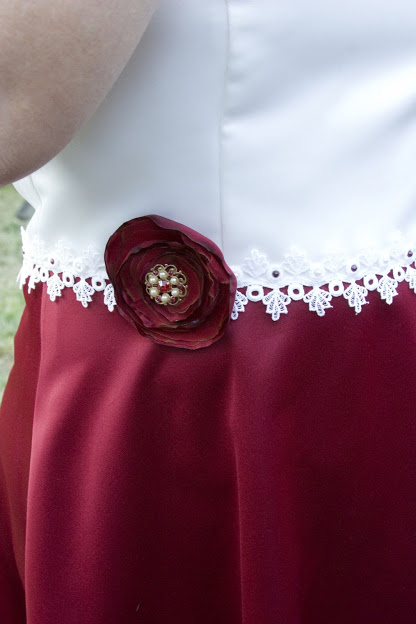
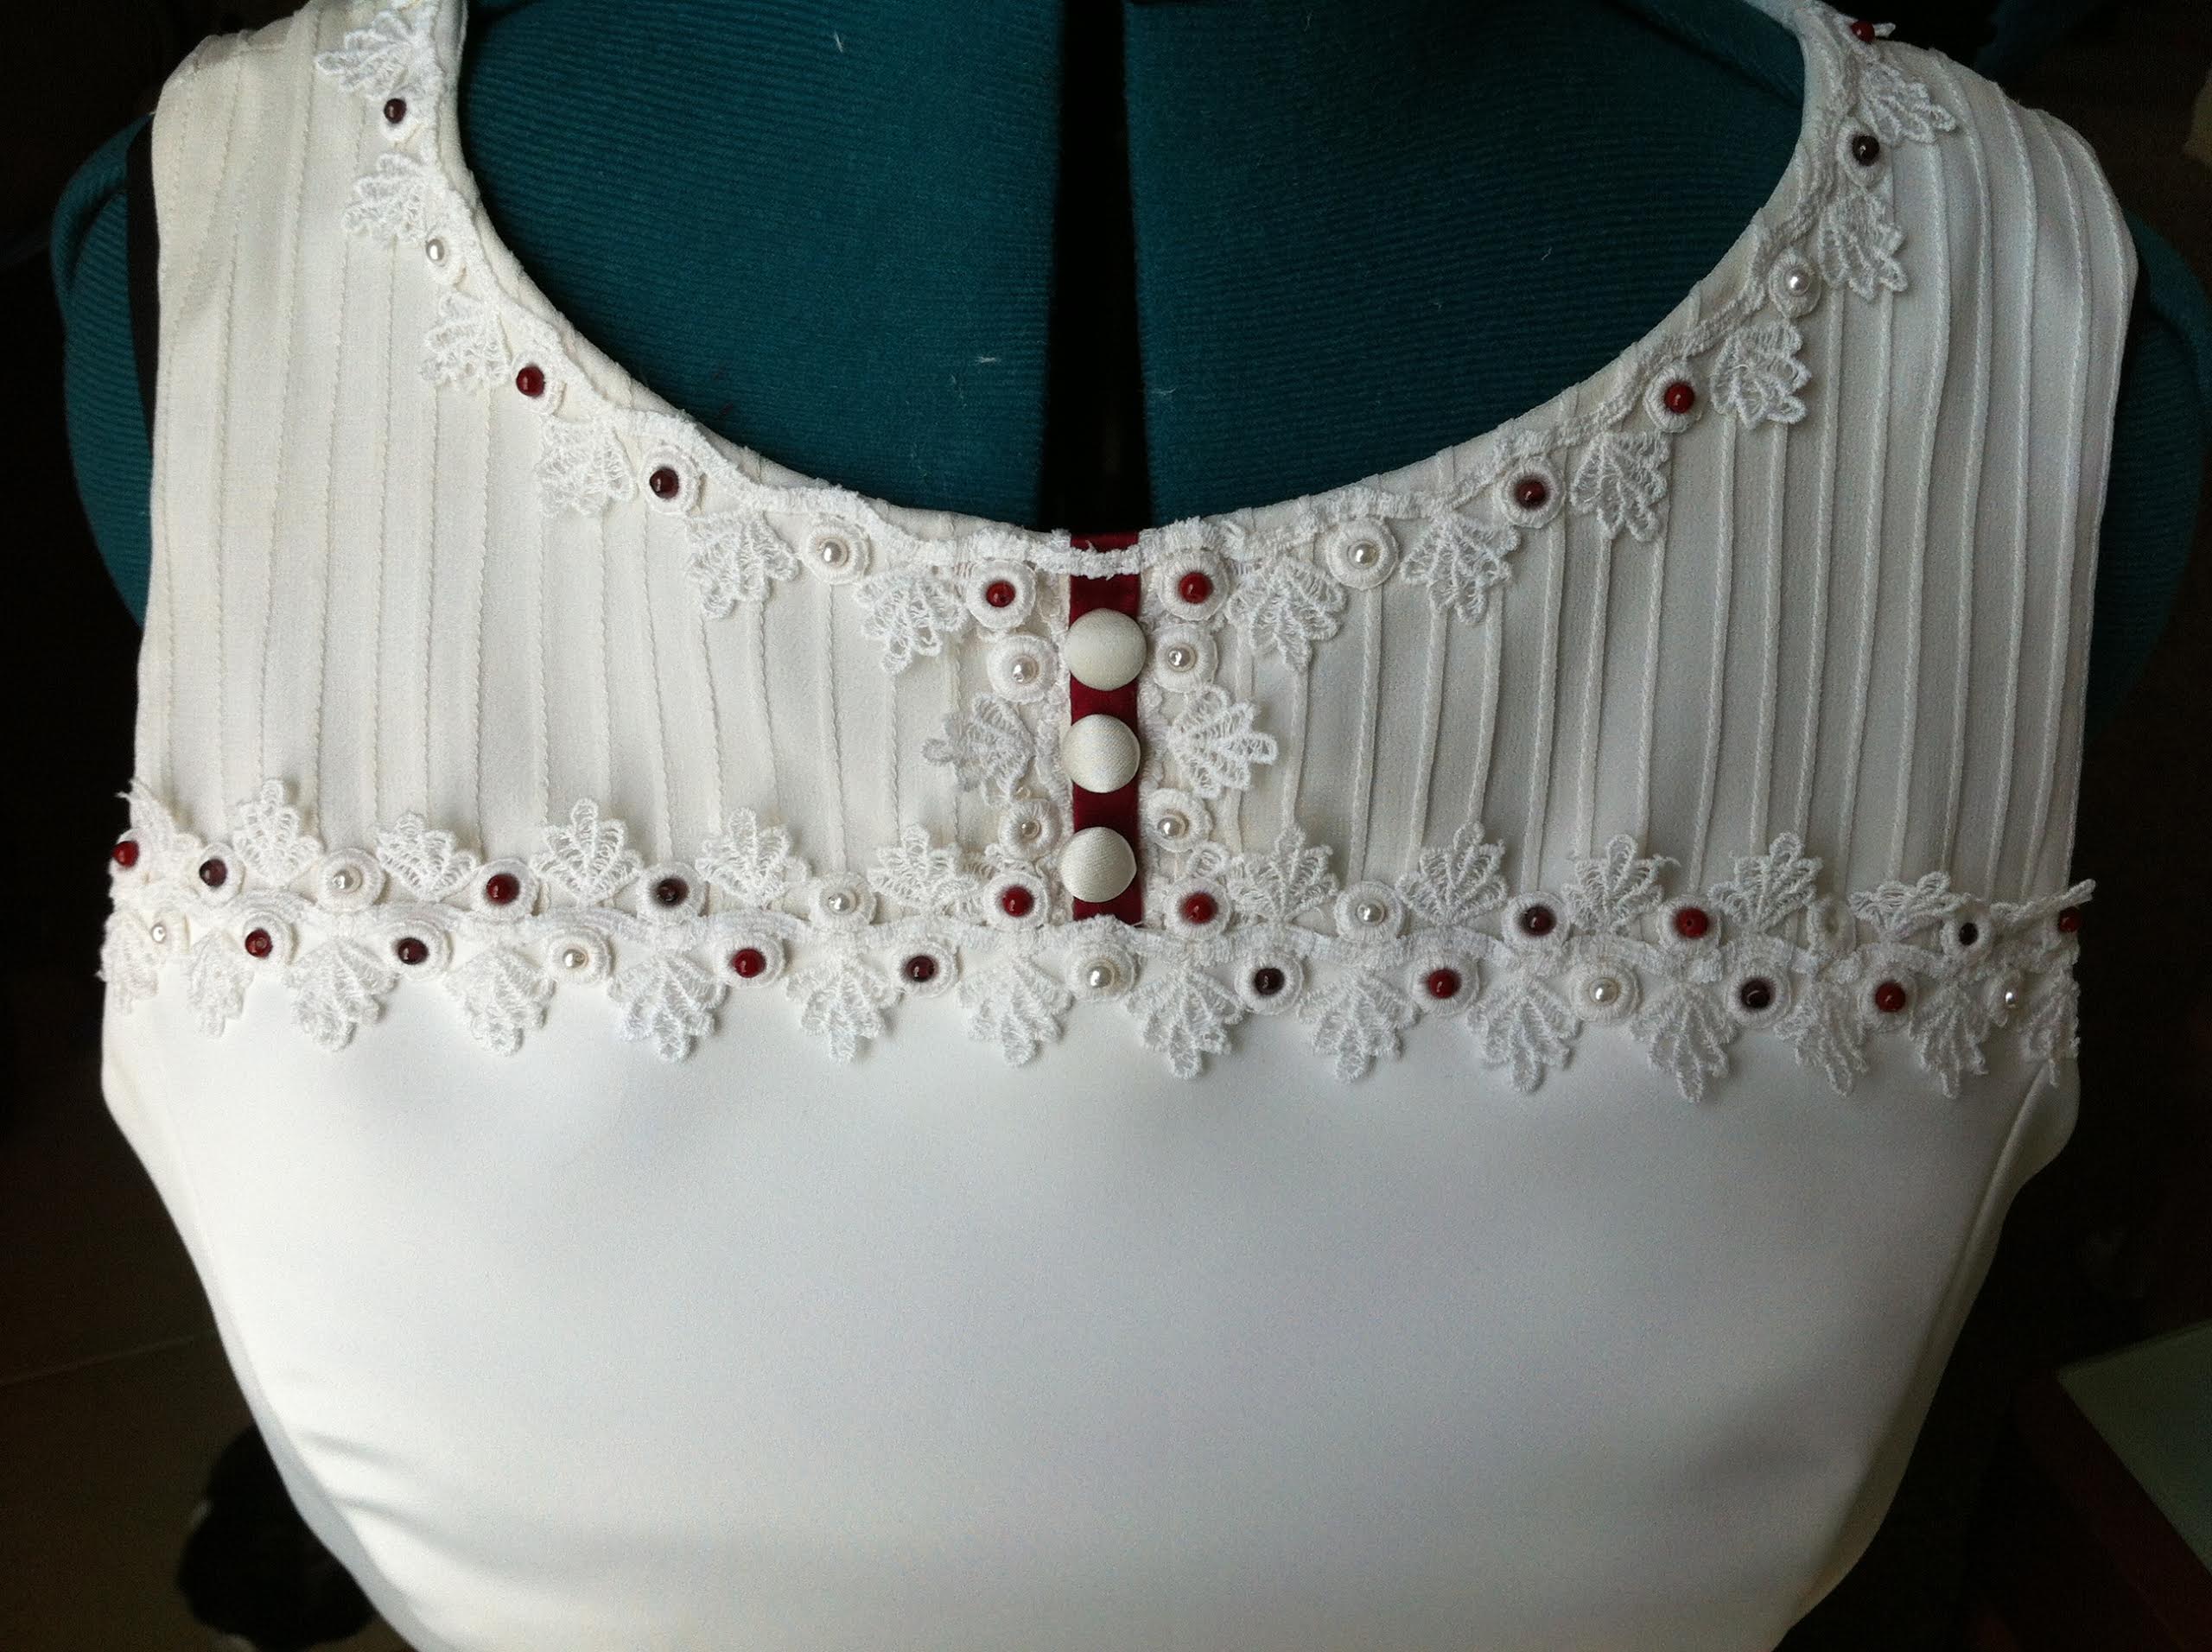
Once the gown was assembled, and we made sure it fit as planned, it was time to add the details. We had chosen to use the original lace (which I cleaned by hand and air dried) and to hand-bead the lace using carnelian beads and pearls that had been given to her by her grandmother. It was hours upon hours of beading time, but the result was lovely. I think it added about 5lbs to the weight of the gown.

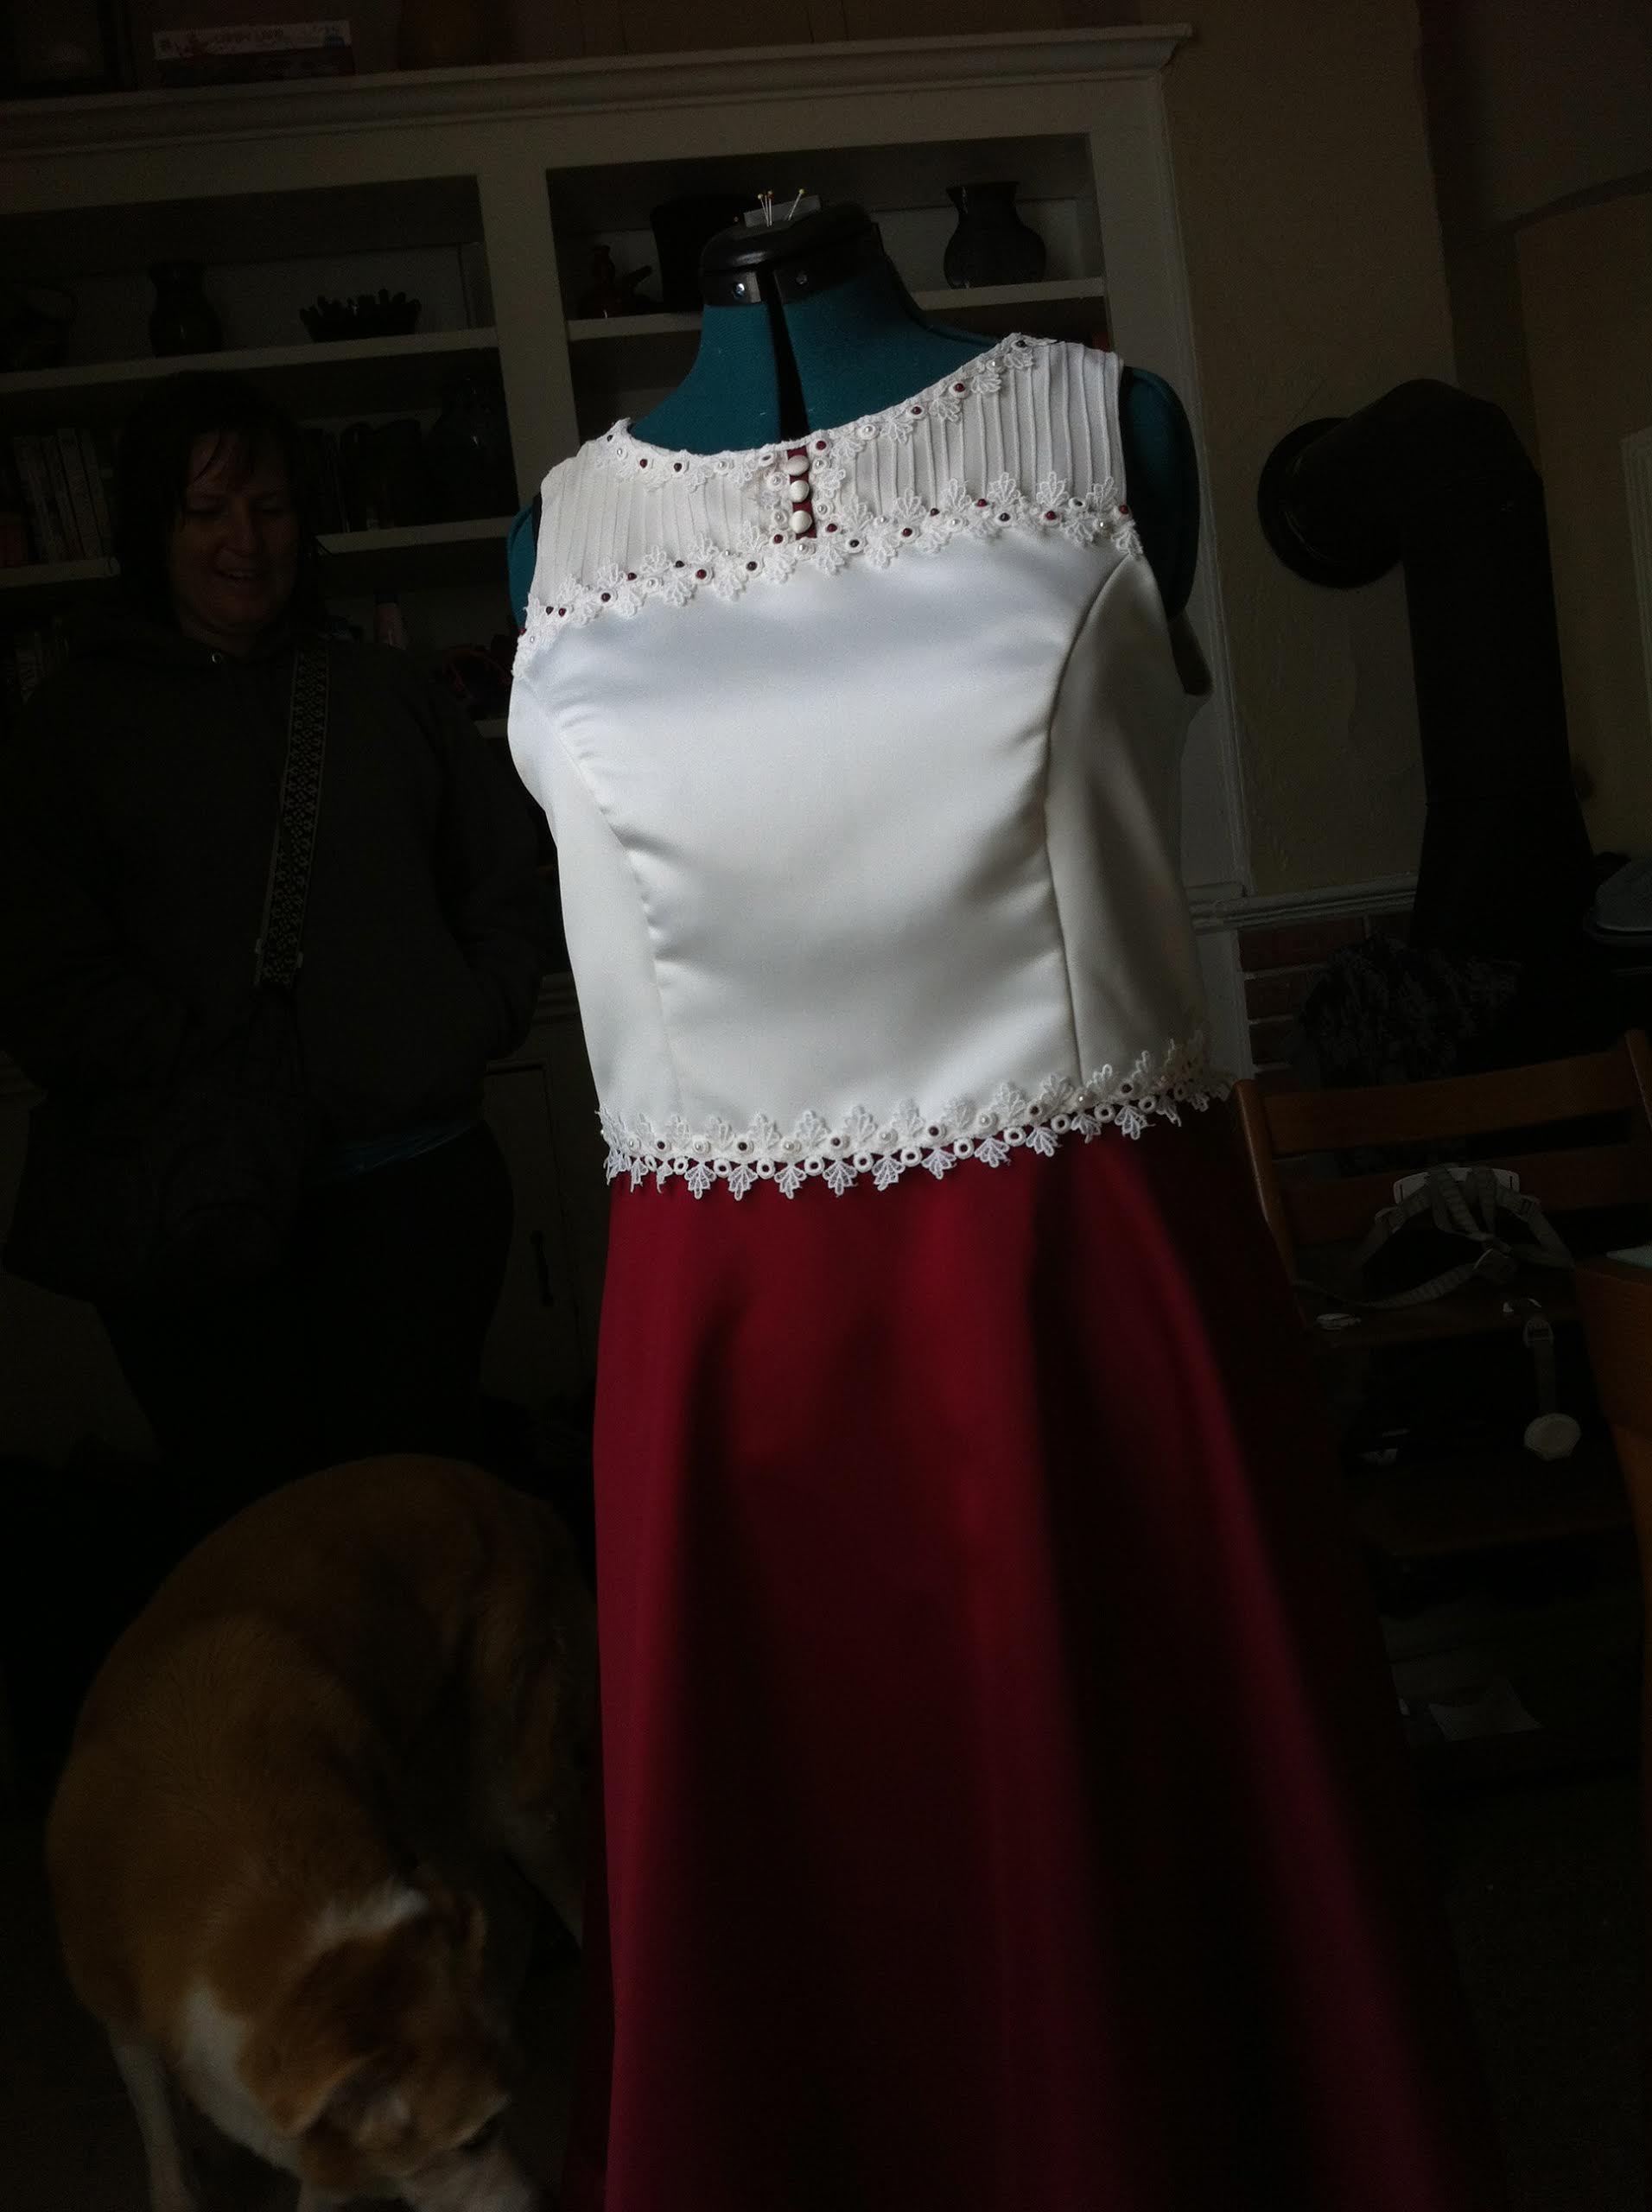
The end result was perfectly her…