If you’ve been following my blog lately, you’ll have seen the corsets I just finished for “Moving Forward into the Past” at the Alameda Museum. While I take pretty detailed notes while I make each corset, it occasionally takes me a little while to move that information online. But now that the show is up and I have a little room to breathe, I can share with you some of the steps I took to create each of these beauties and give you some more detailed photos.
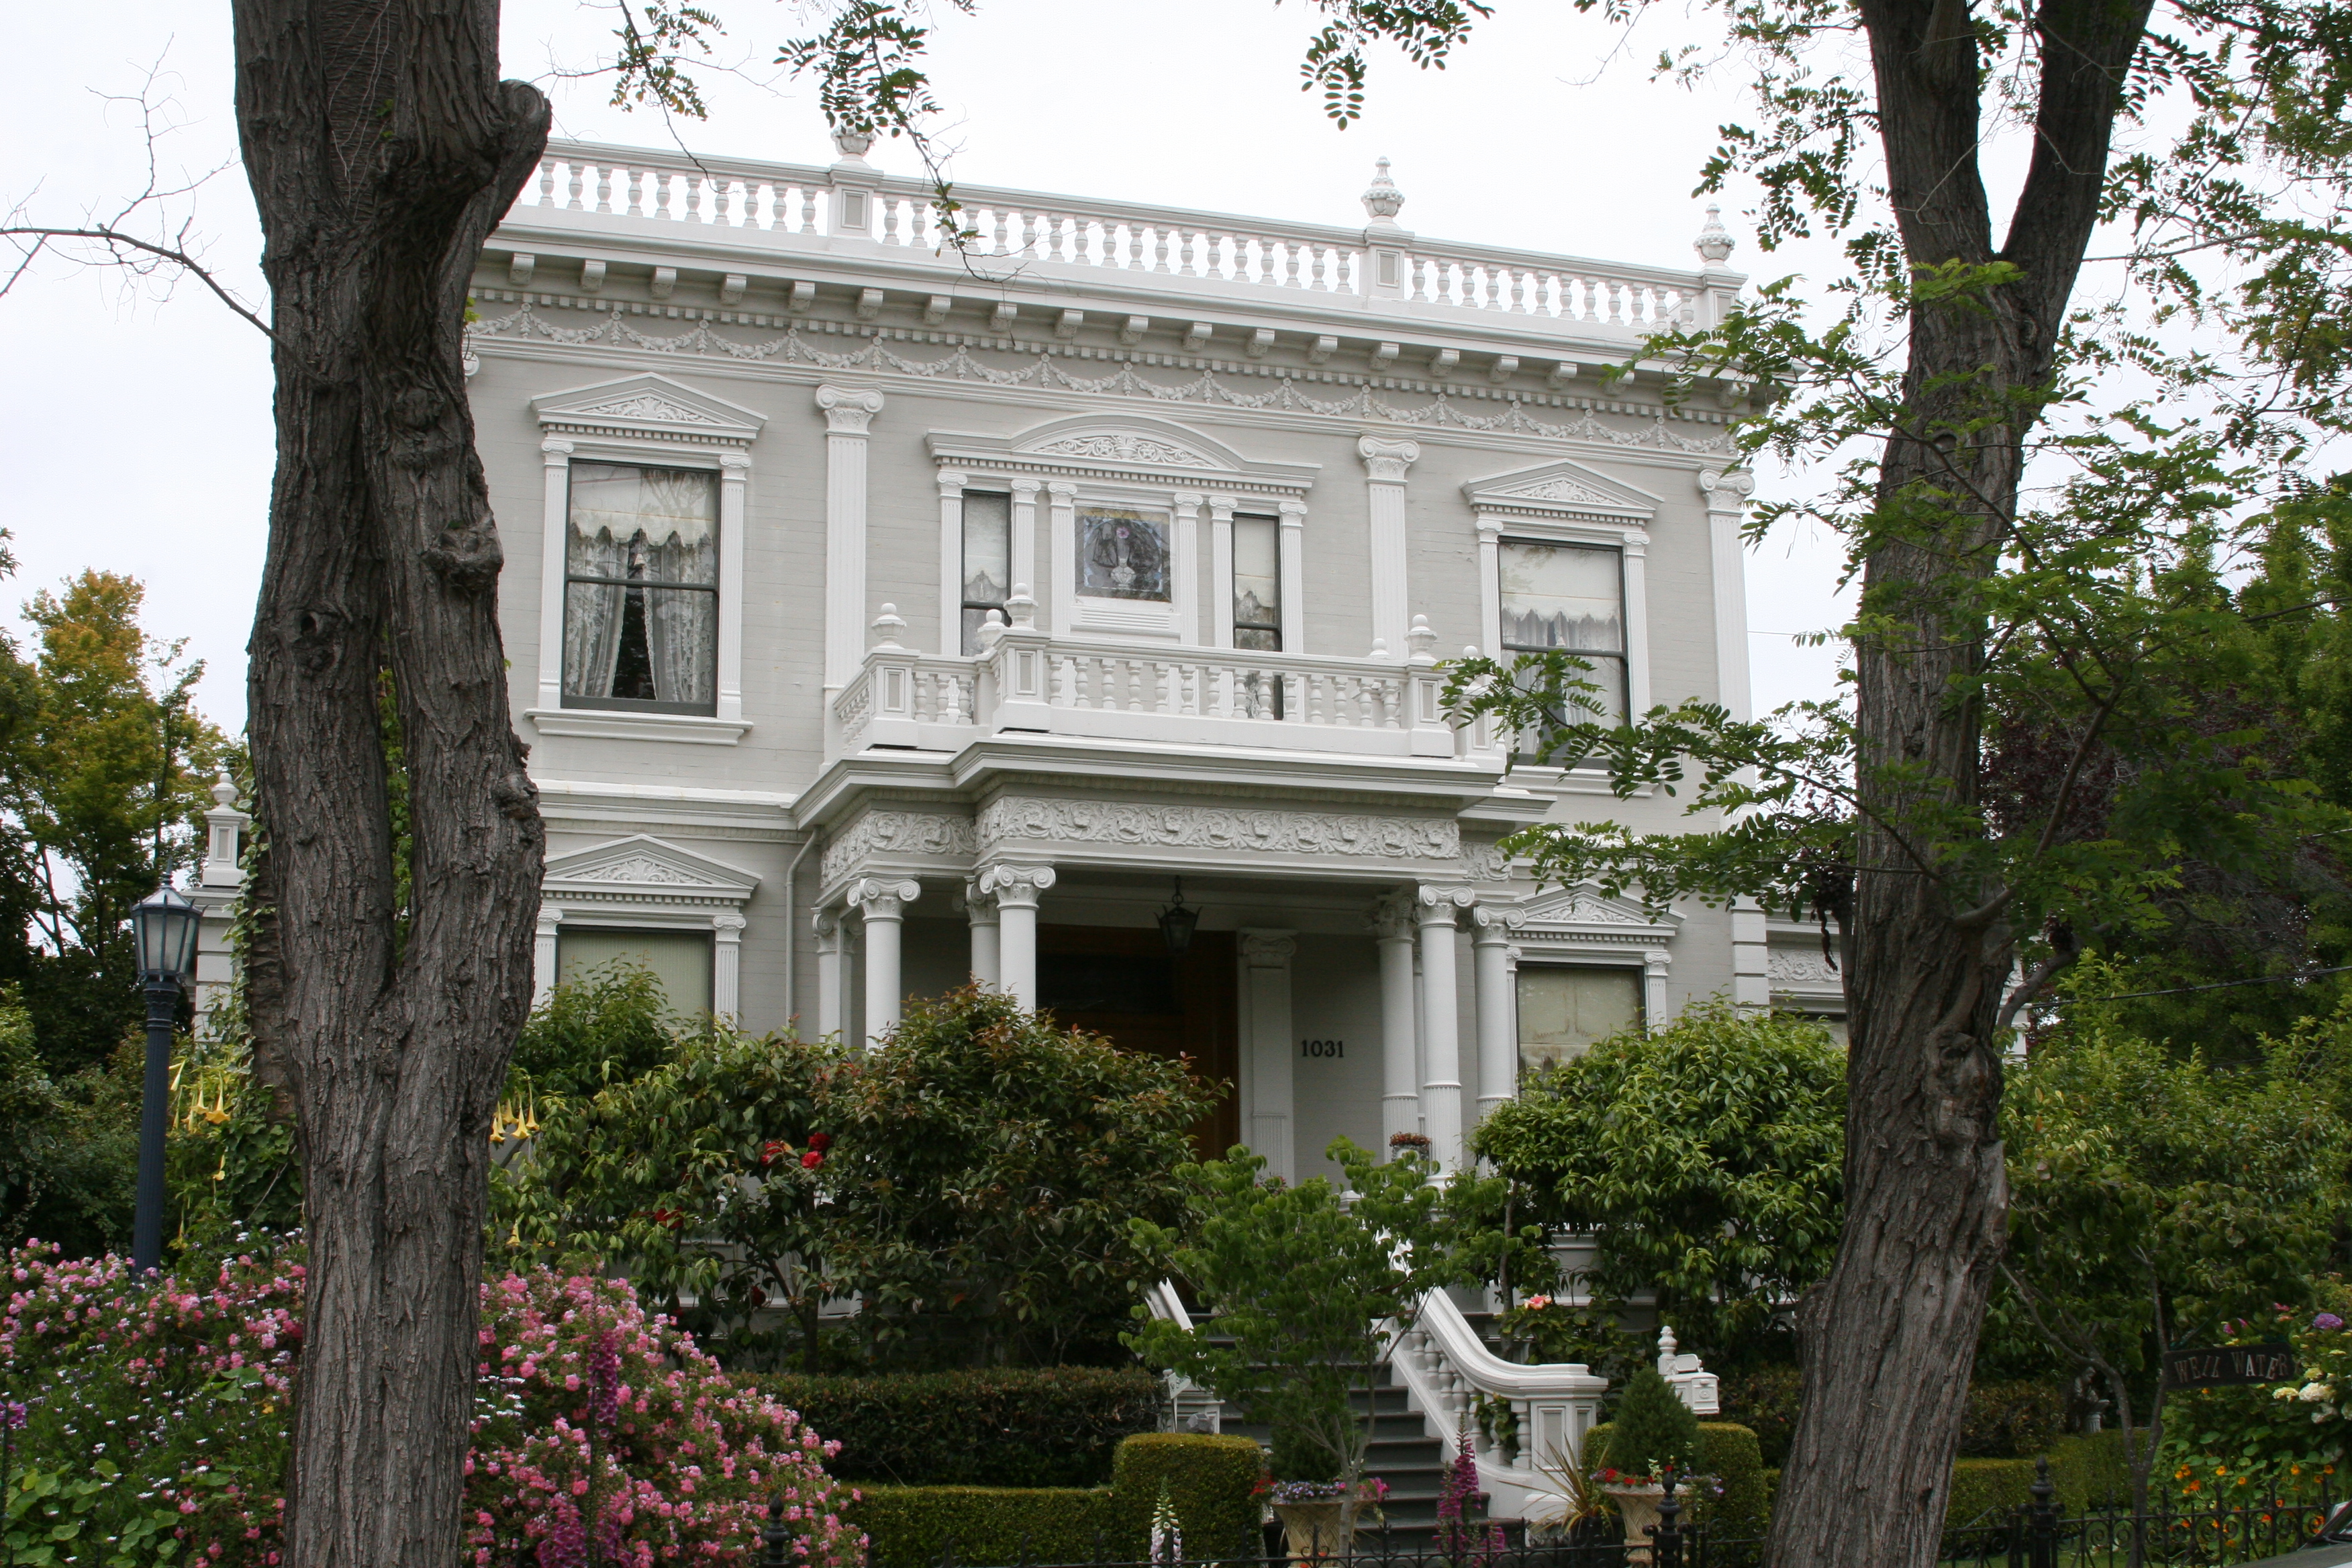
Let’s start with the corset I created based on the “Wedding Cake House” on San Antonio Ave in Alameda. It’s a gorgeous home with a lush yard and often there are butterflies and hummingbirds buzzing about. I had originally intended to include some of the floral and garden details on the corset, as well as the “well water” sign, but in the end decided not to because I loved the elegant look of the final corset.
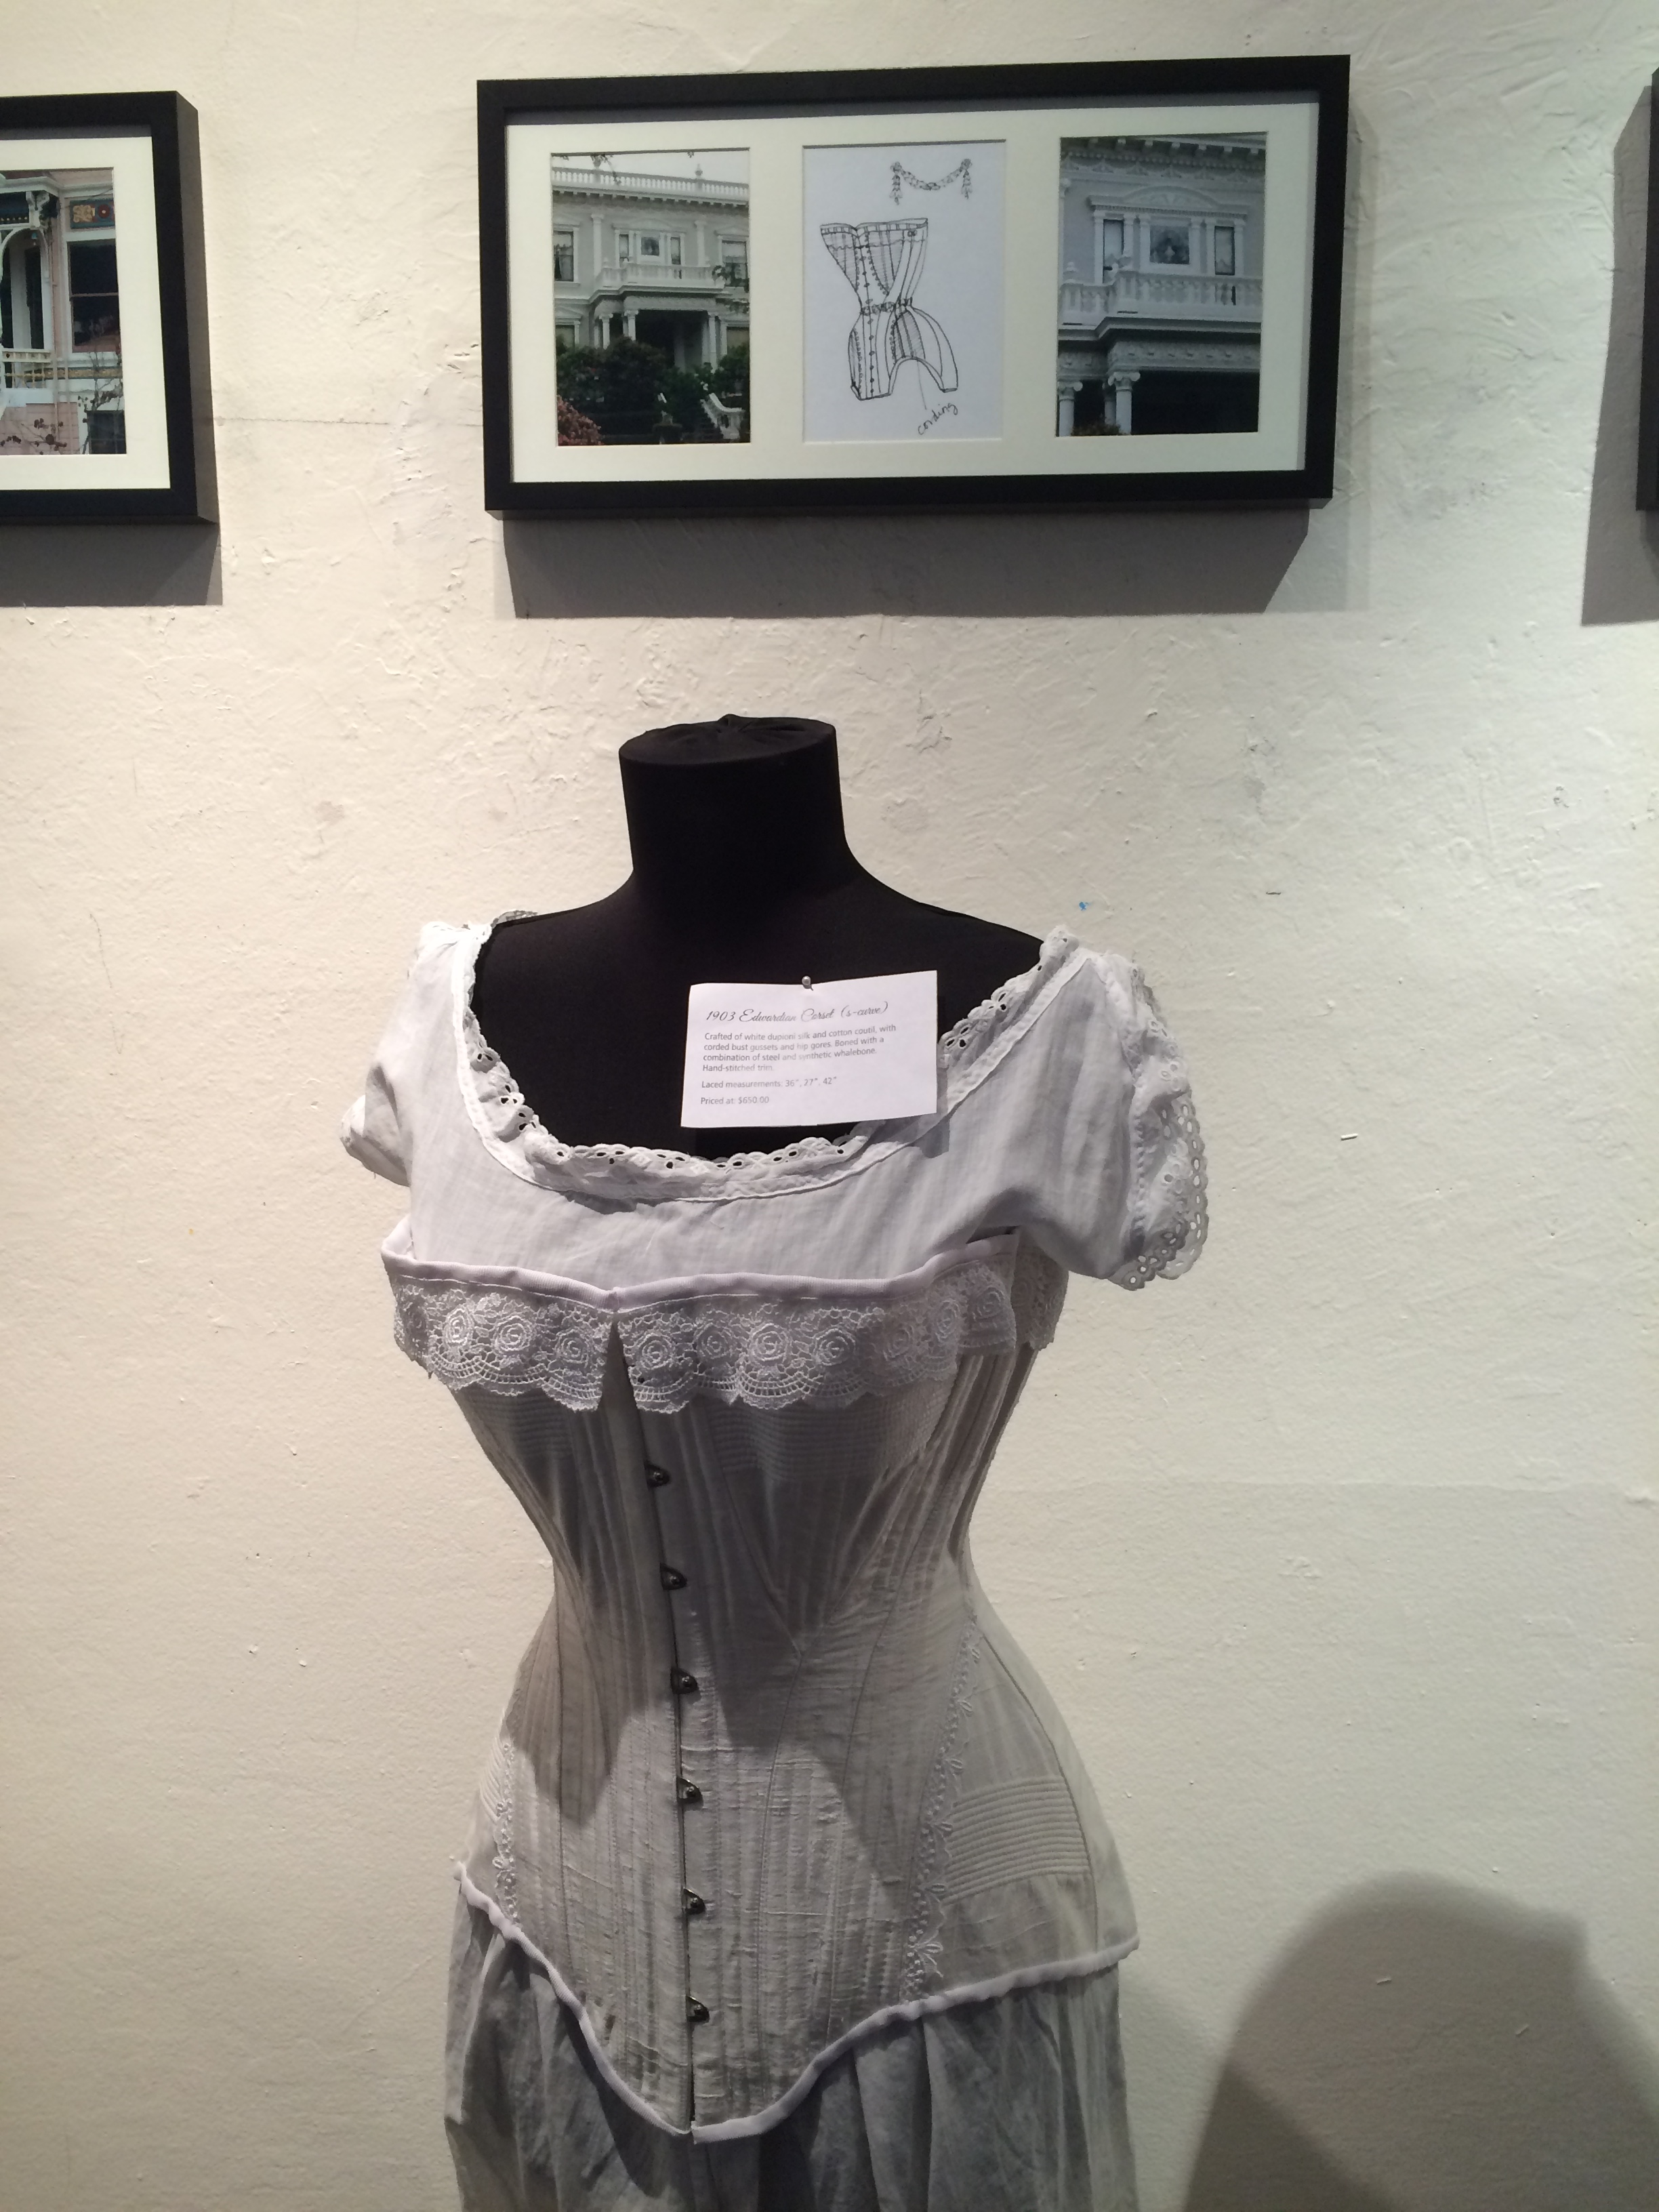
This corset design is based on the Truly Victorian 1903 Edwardian Corset Pattern.

It’s a pattern I have used before so it is one I am comfortable with. I should note that it’s not for the beginning seamstress and should really not be your first attempt at corset making. It comes in three “heights” and three “lengths” and is fully scaled for multiple sizes. The Truly Victorian Patterns are very easy to use and the instructions are great.
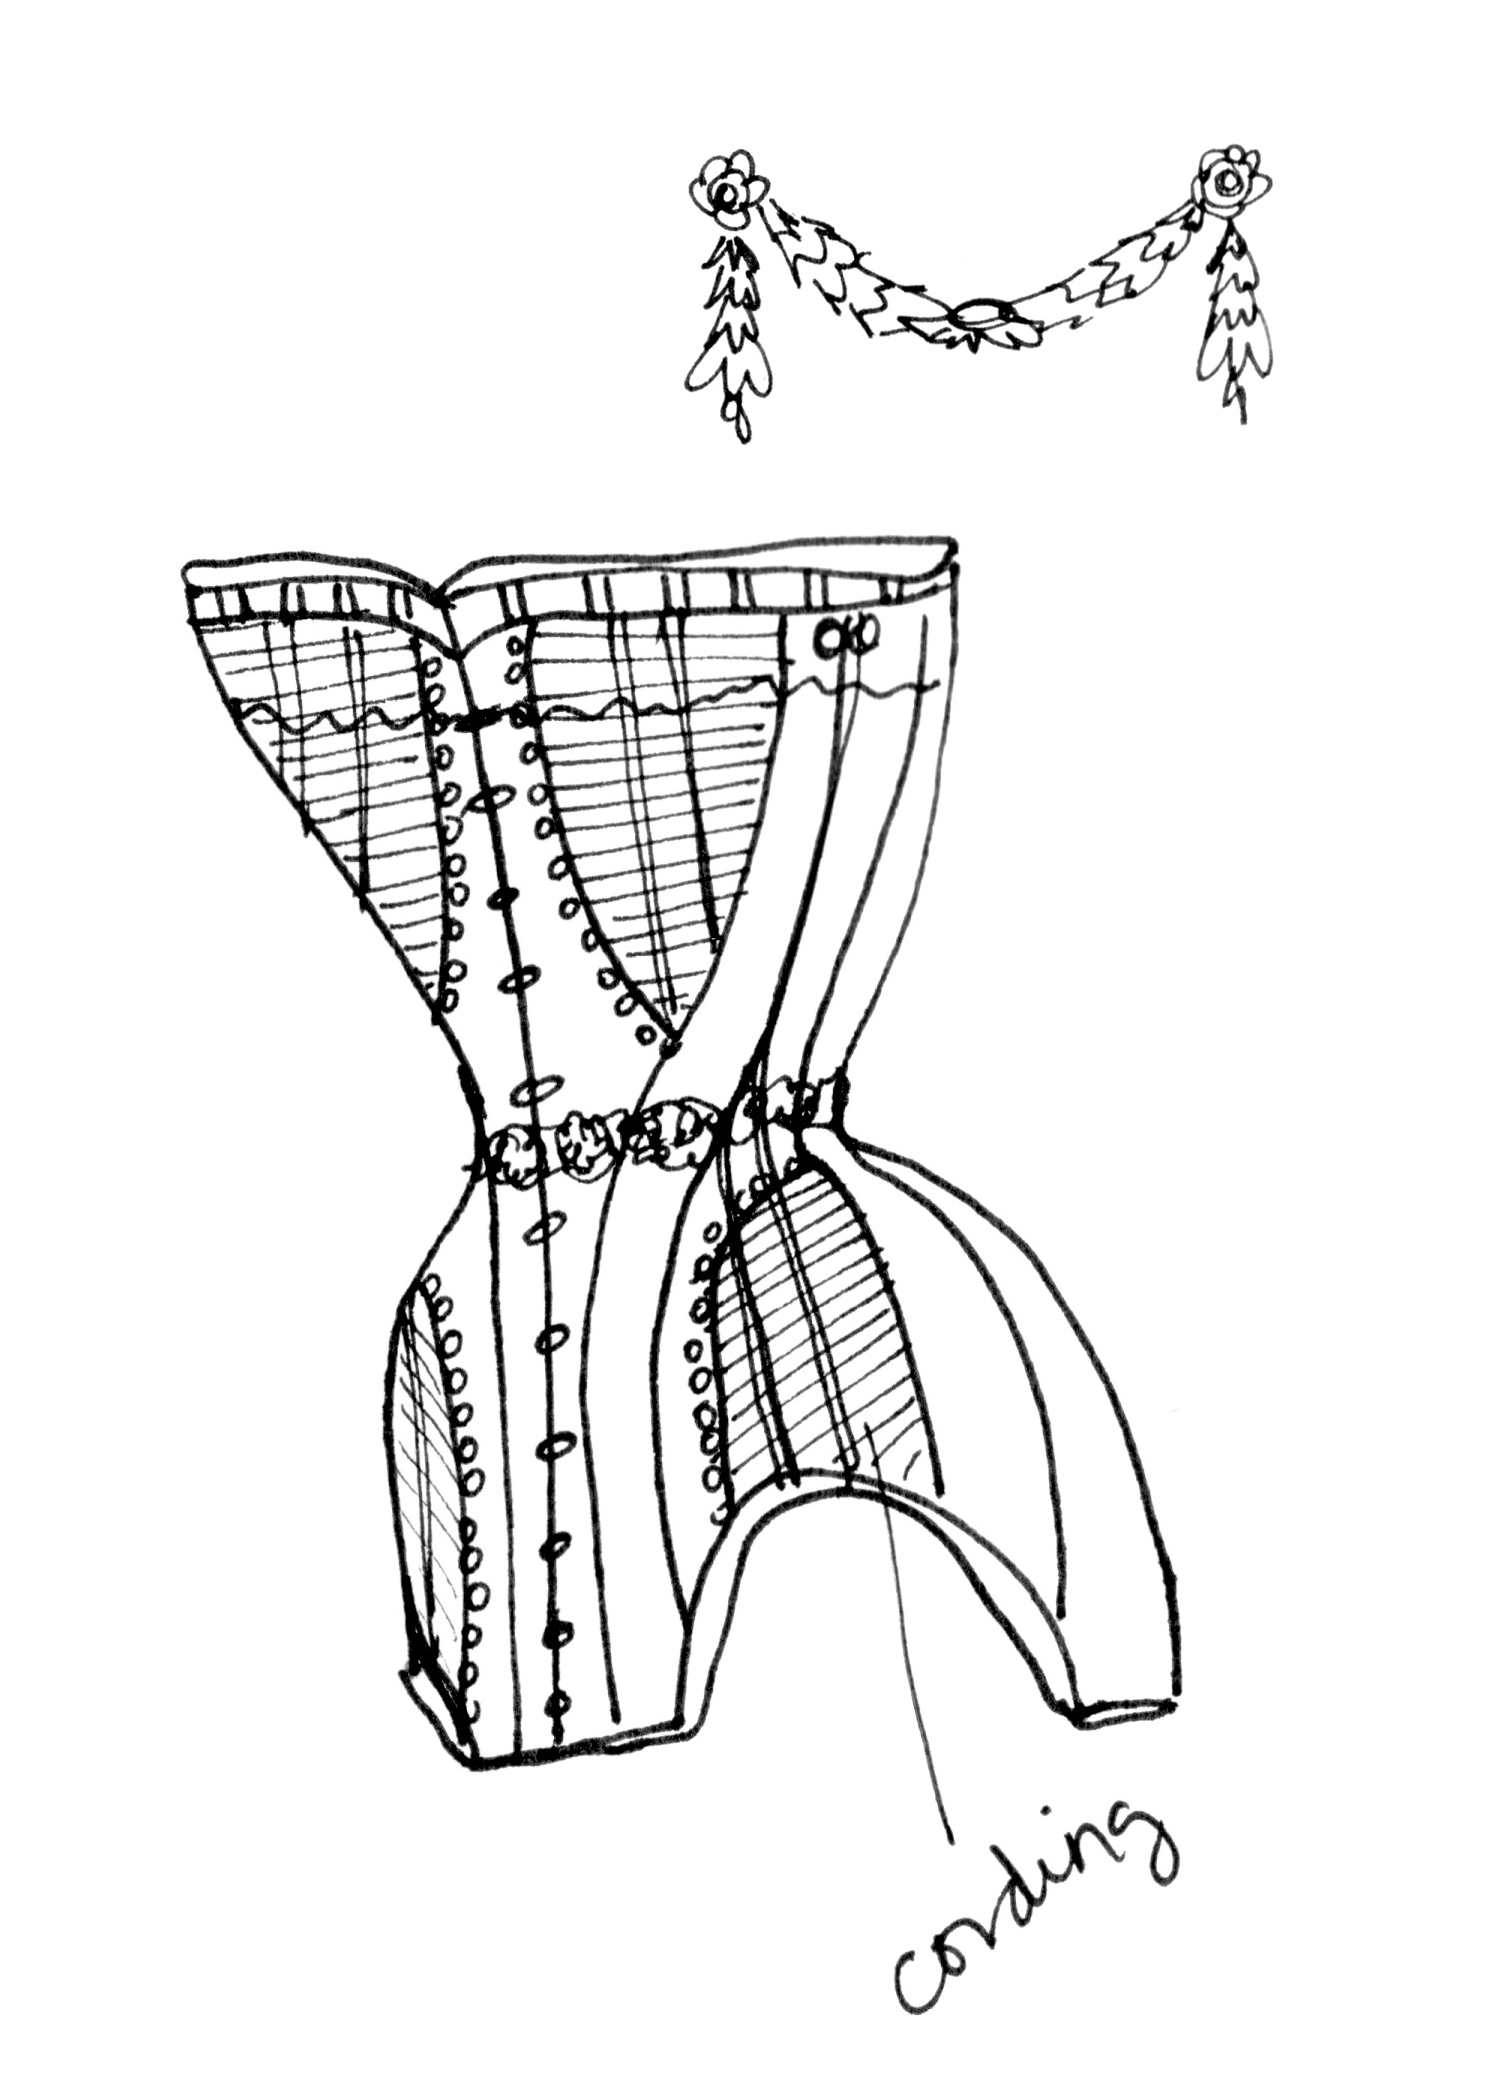
I began by selecting a gorgeous dupioni silk, and sketching what I wanted the final corset to look like. My goal was to keep these functional and “inspired by” the homes, but not have them be direct fashion clones of the homes. You will see that there are some variations from the original sketch, and I made some modifications on the fly. I chose to go with the highest bust option and the longest length, since the home was so stately.
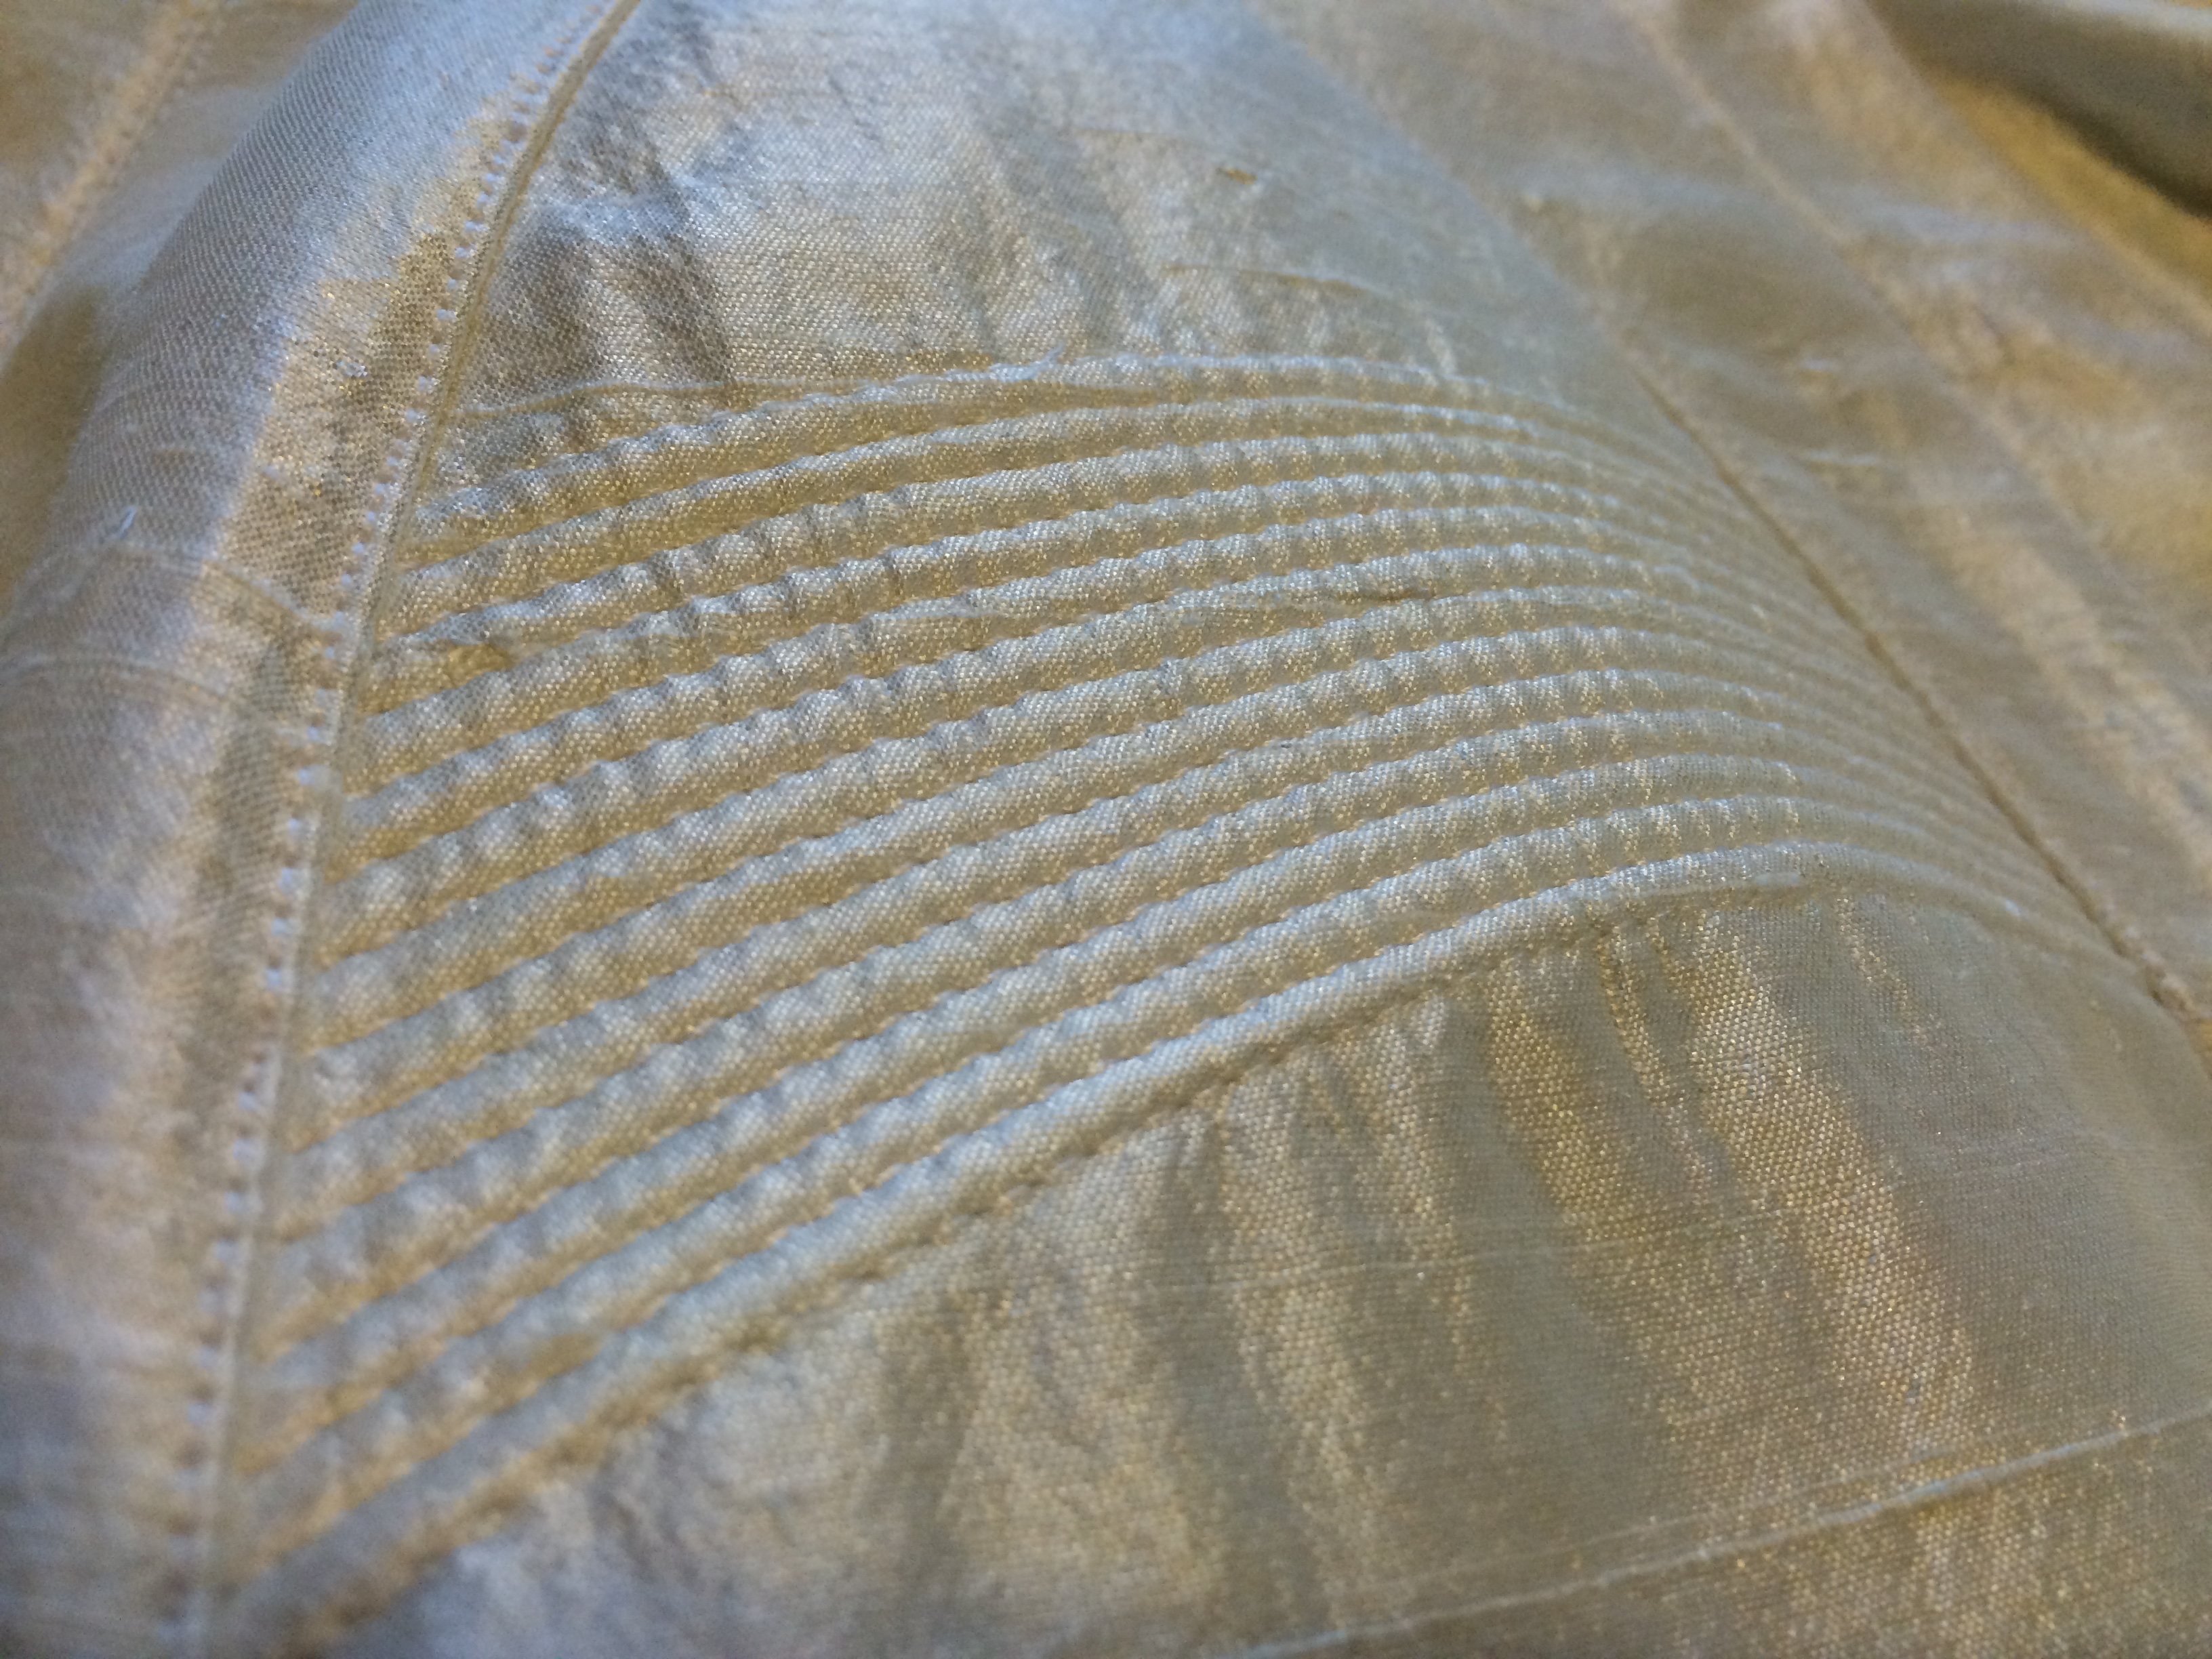
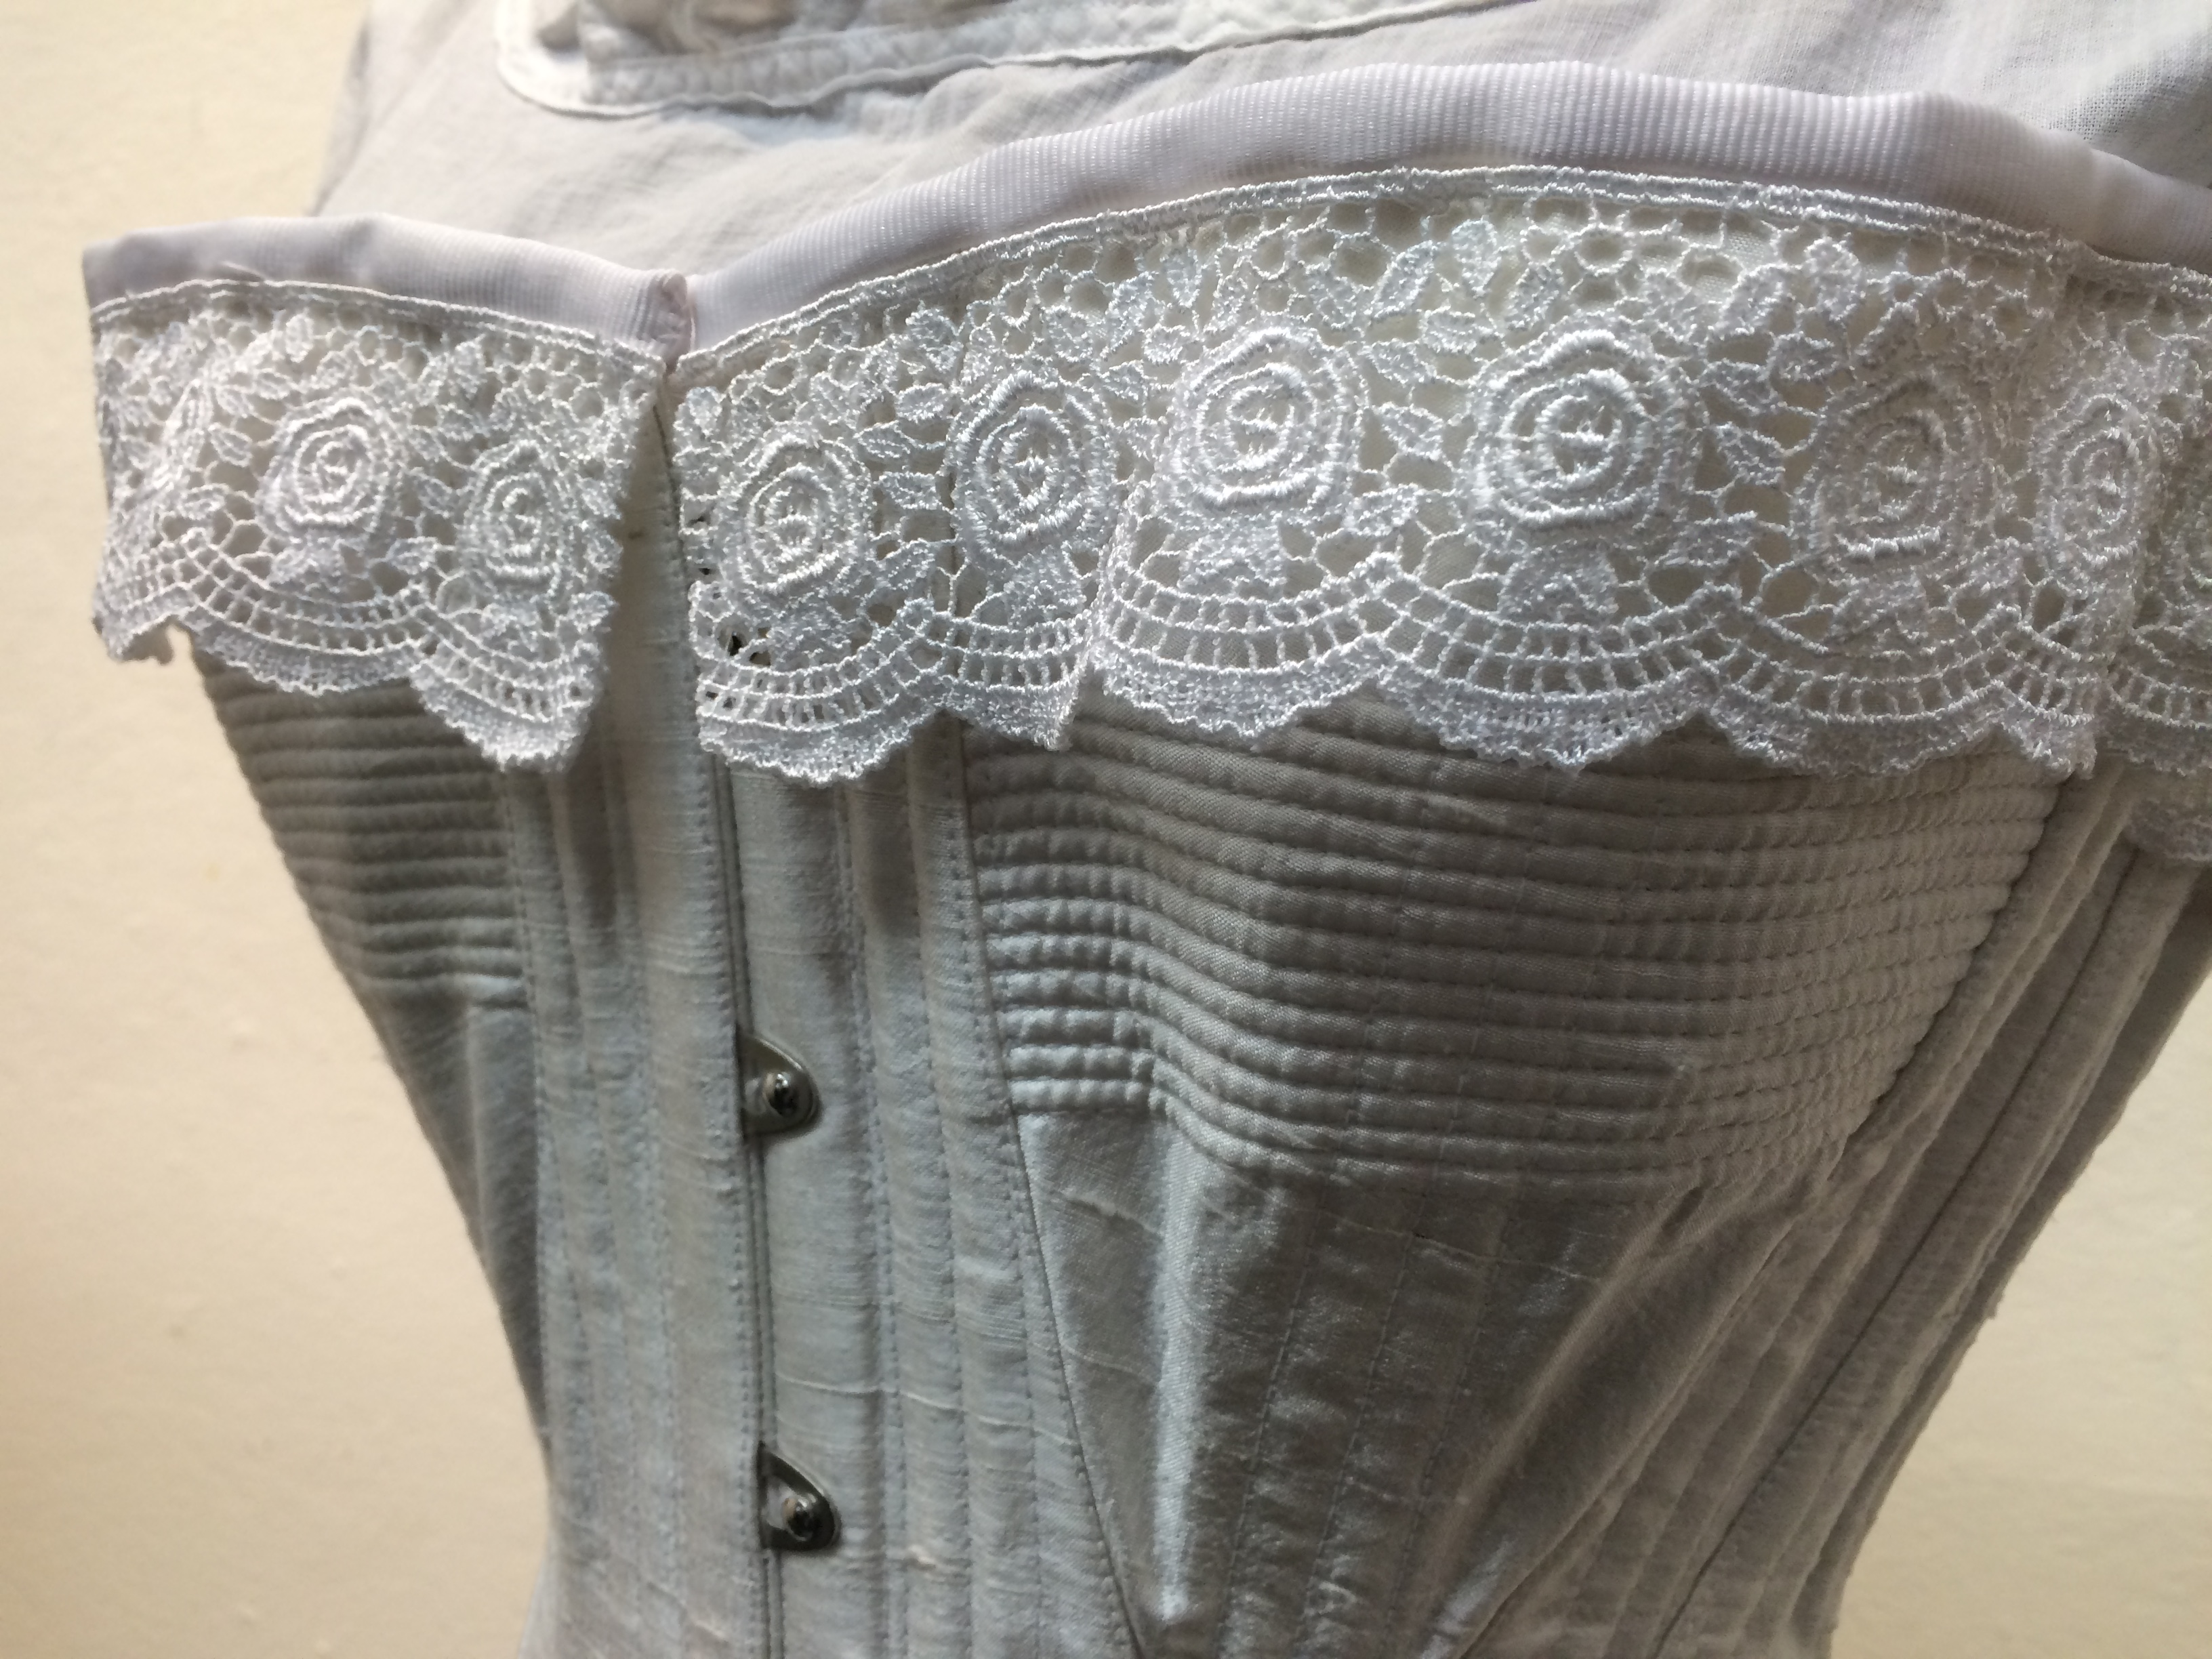
In the end, upon reviewing my sketch, I chose to cord only a portion of the breast gussets and hip gores, as I felt full cording would be too stiff, and I wanted this to really mold to the form. The cording created a little more stiffness and form, helping to shape each area. It also gave these areas some texture, representing some of the railed trim along the top of the home. I used a 100% cotton sportweight yarn for cording, and 8″ needle to pull the cord through the boning channels (I used my dremel to round the end to a nice blunt point so as not to tear the silk). The main body of the corset is comprised of a strong white coutil for the foundation fabric and dupioni silk for the fashion fabric, to which I fused a lightweight cotton interfacing to help give it a little more form and structure.
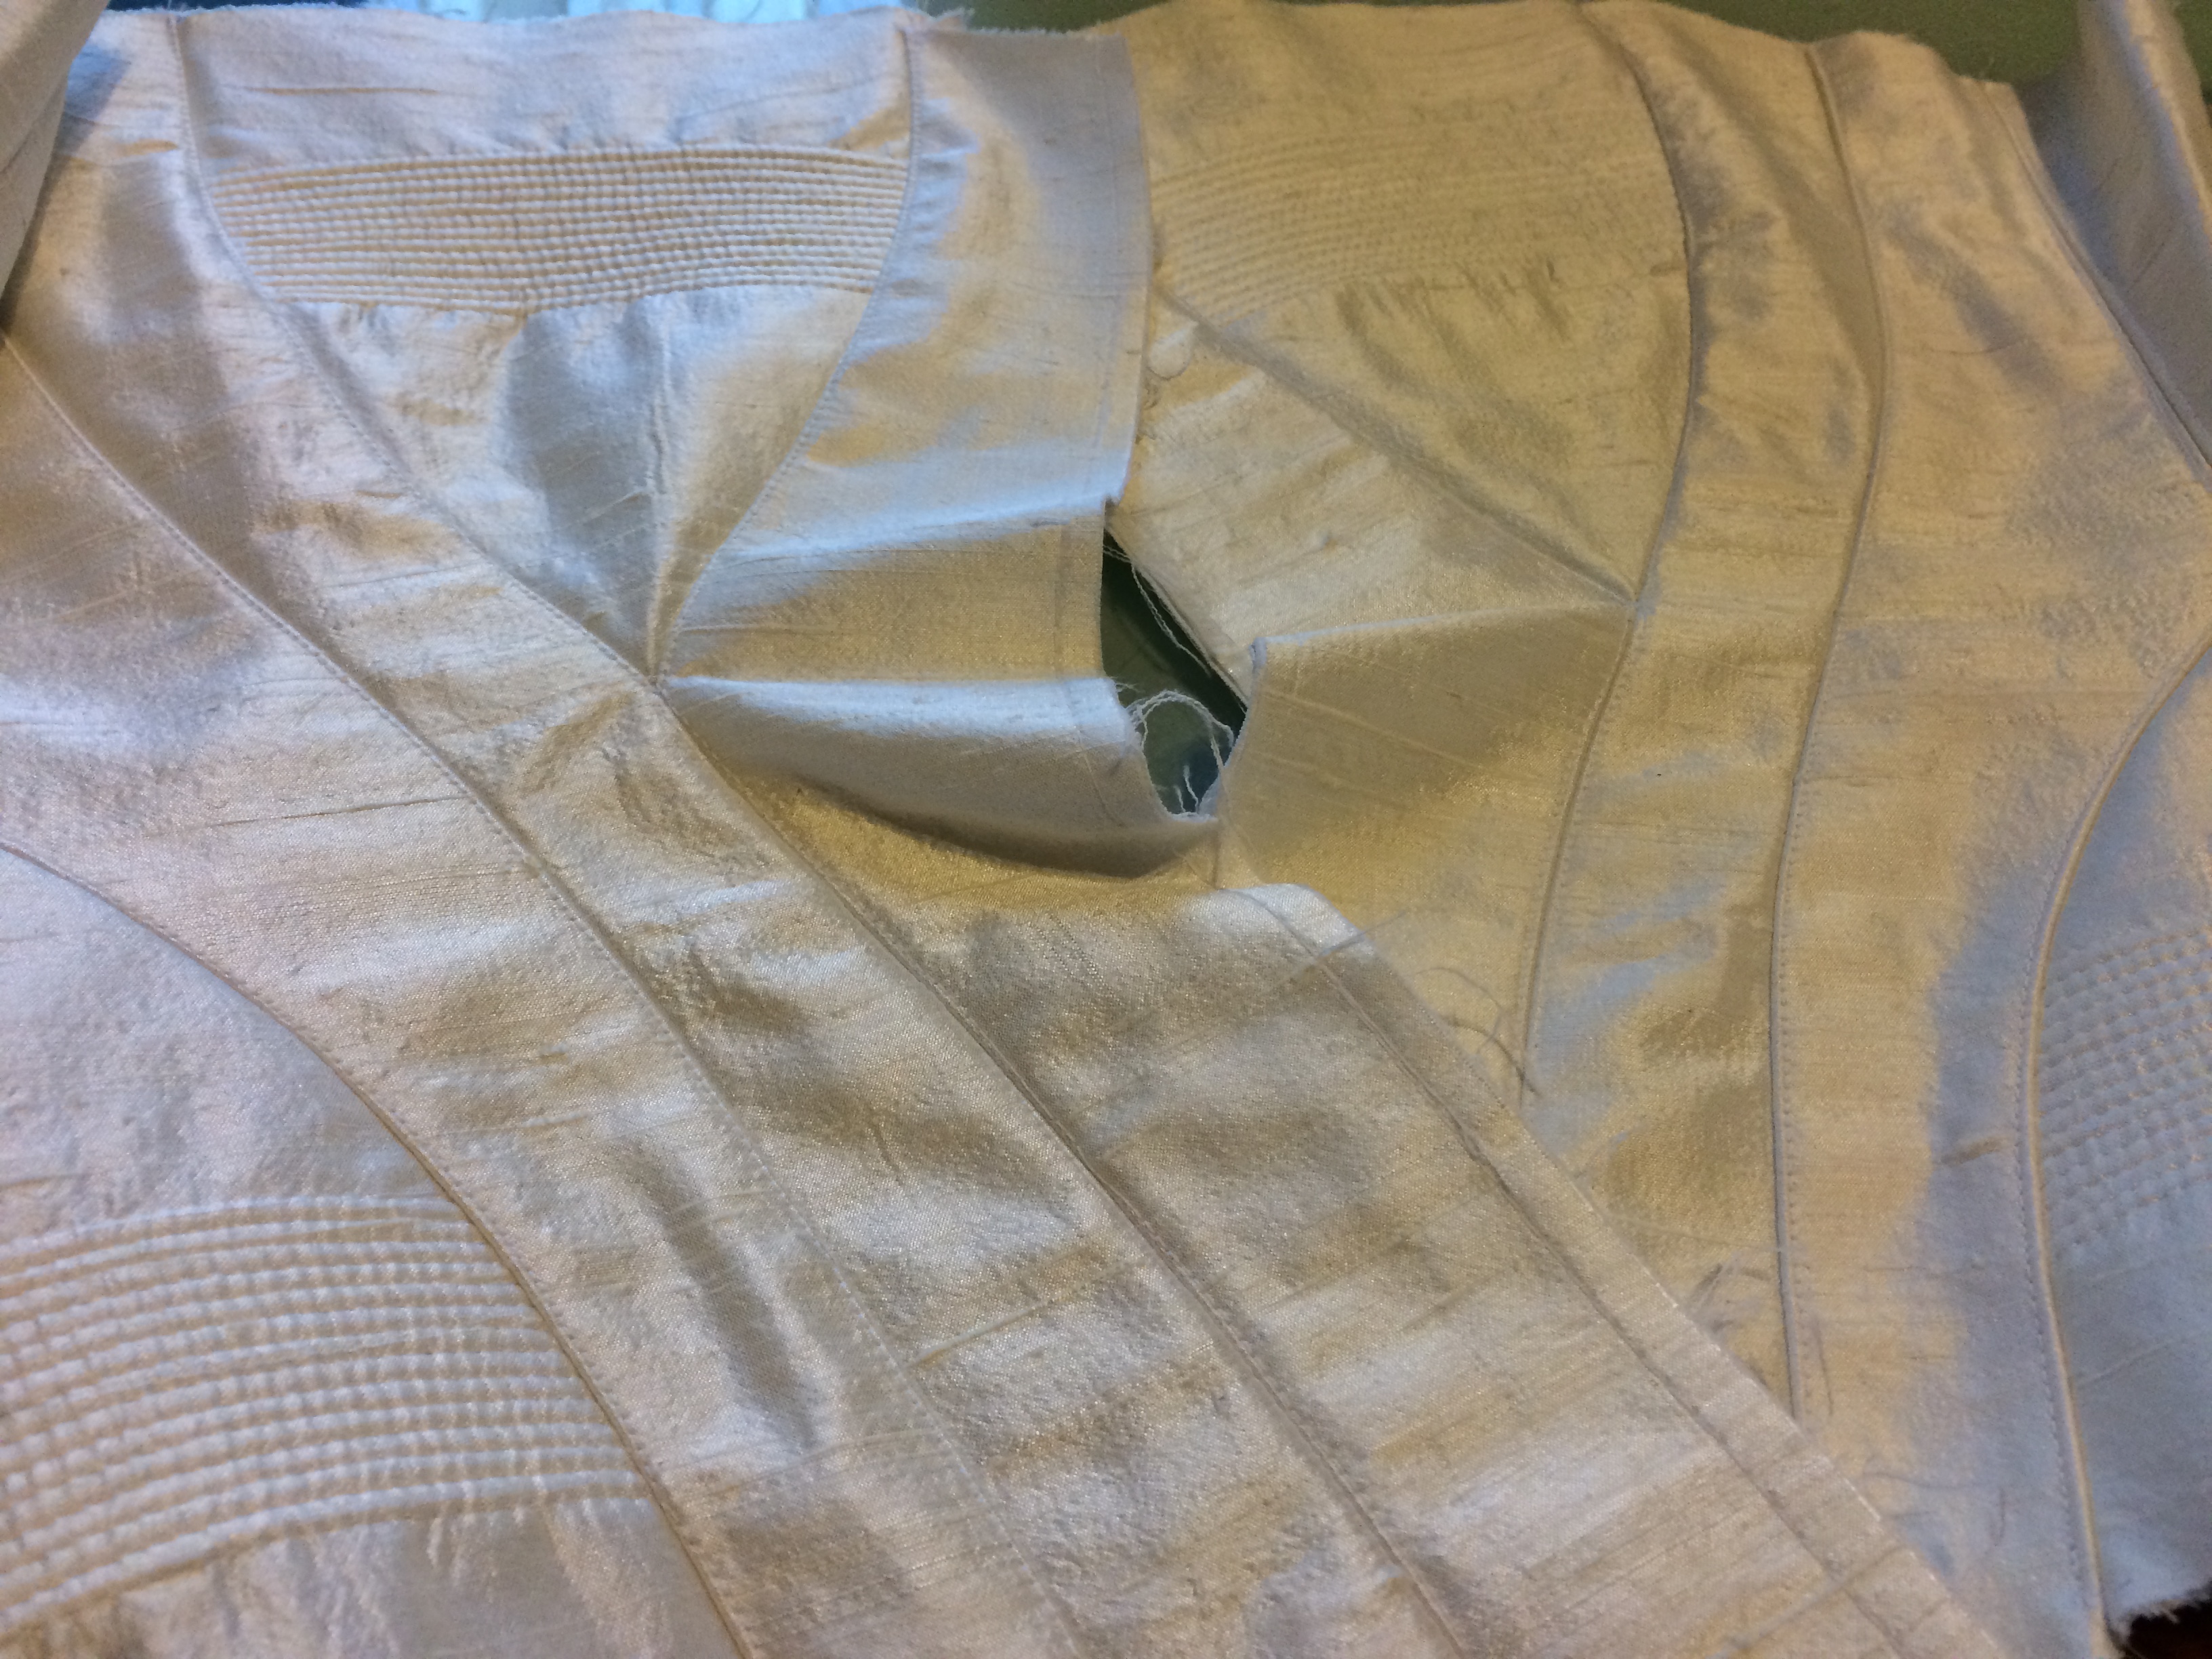
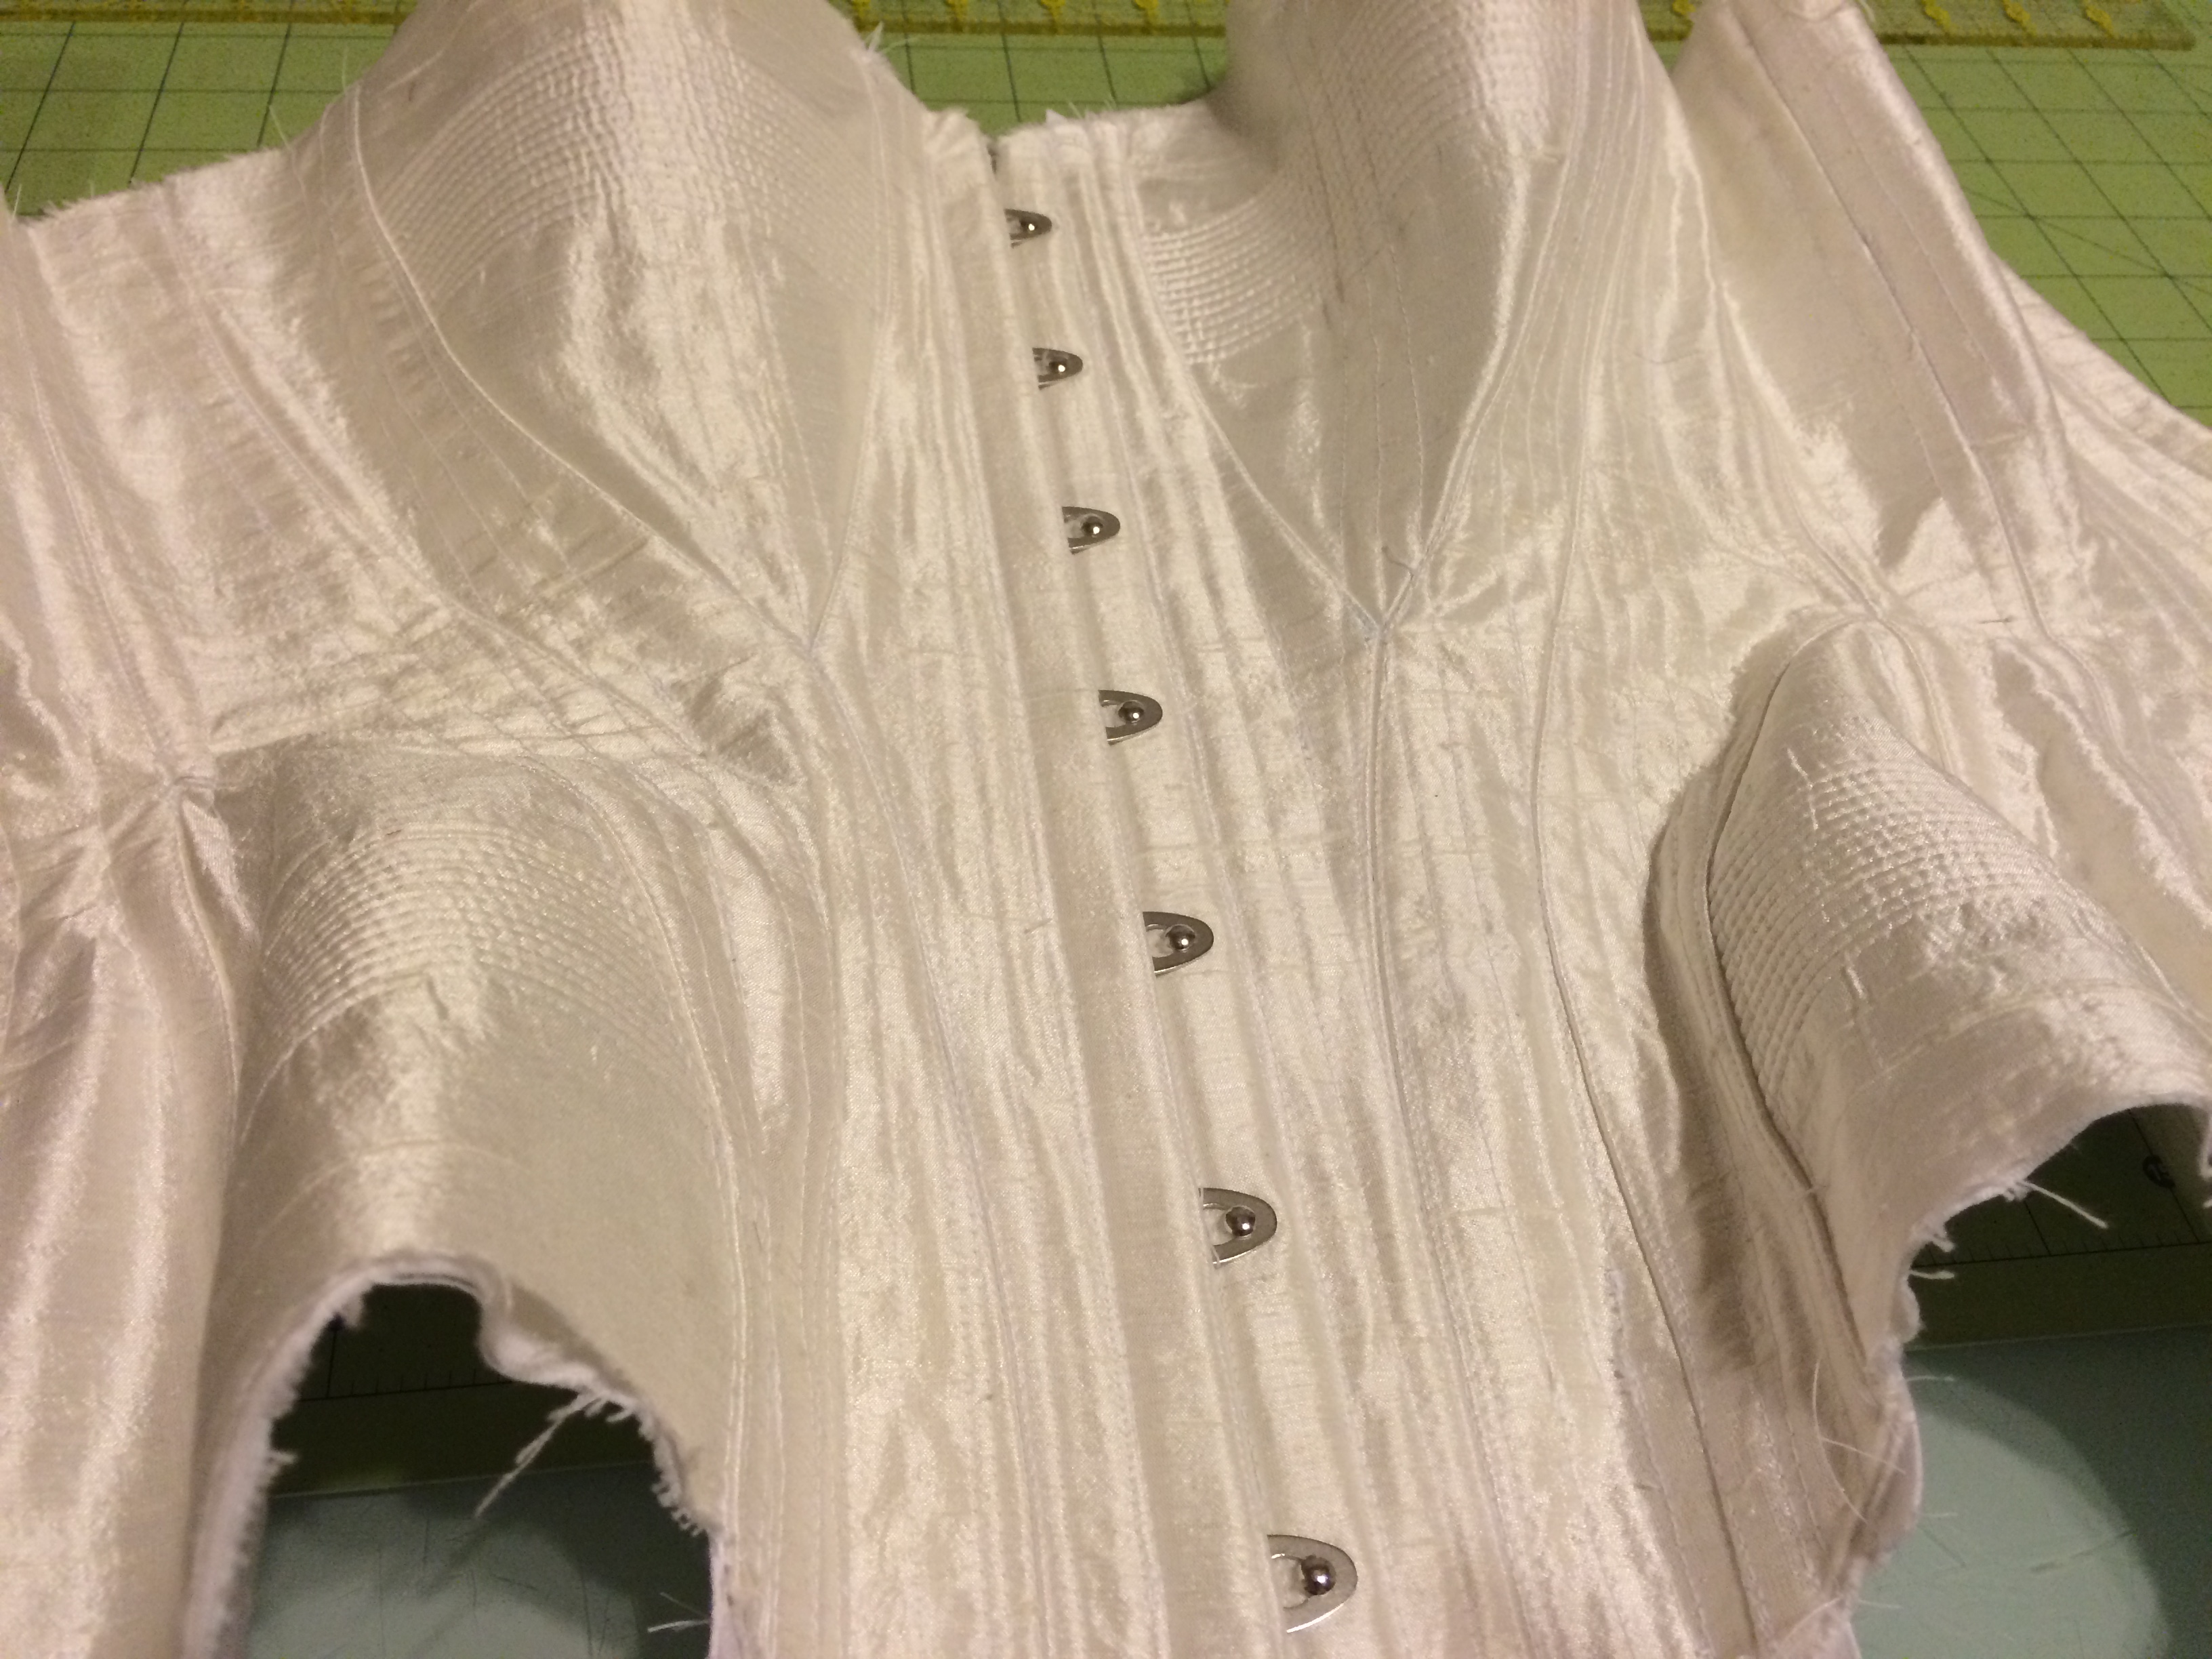
Since I was working with a smaller size and there was not a lot of fabric in the front, I chose to insert the busk last. This allowed me to easily manipulate the curves of the fabric for adding boning channels and ensuring that there were few, if any, wrinkles.
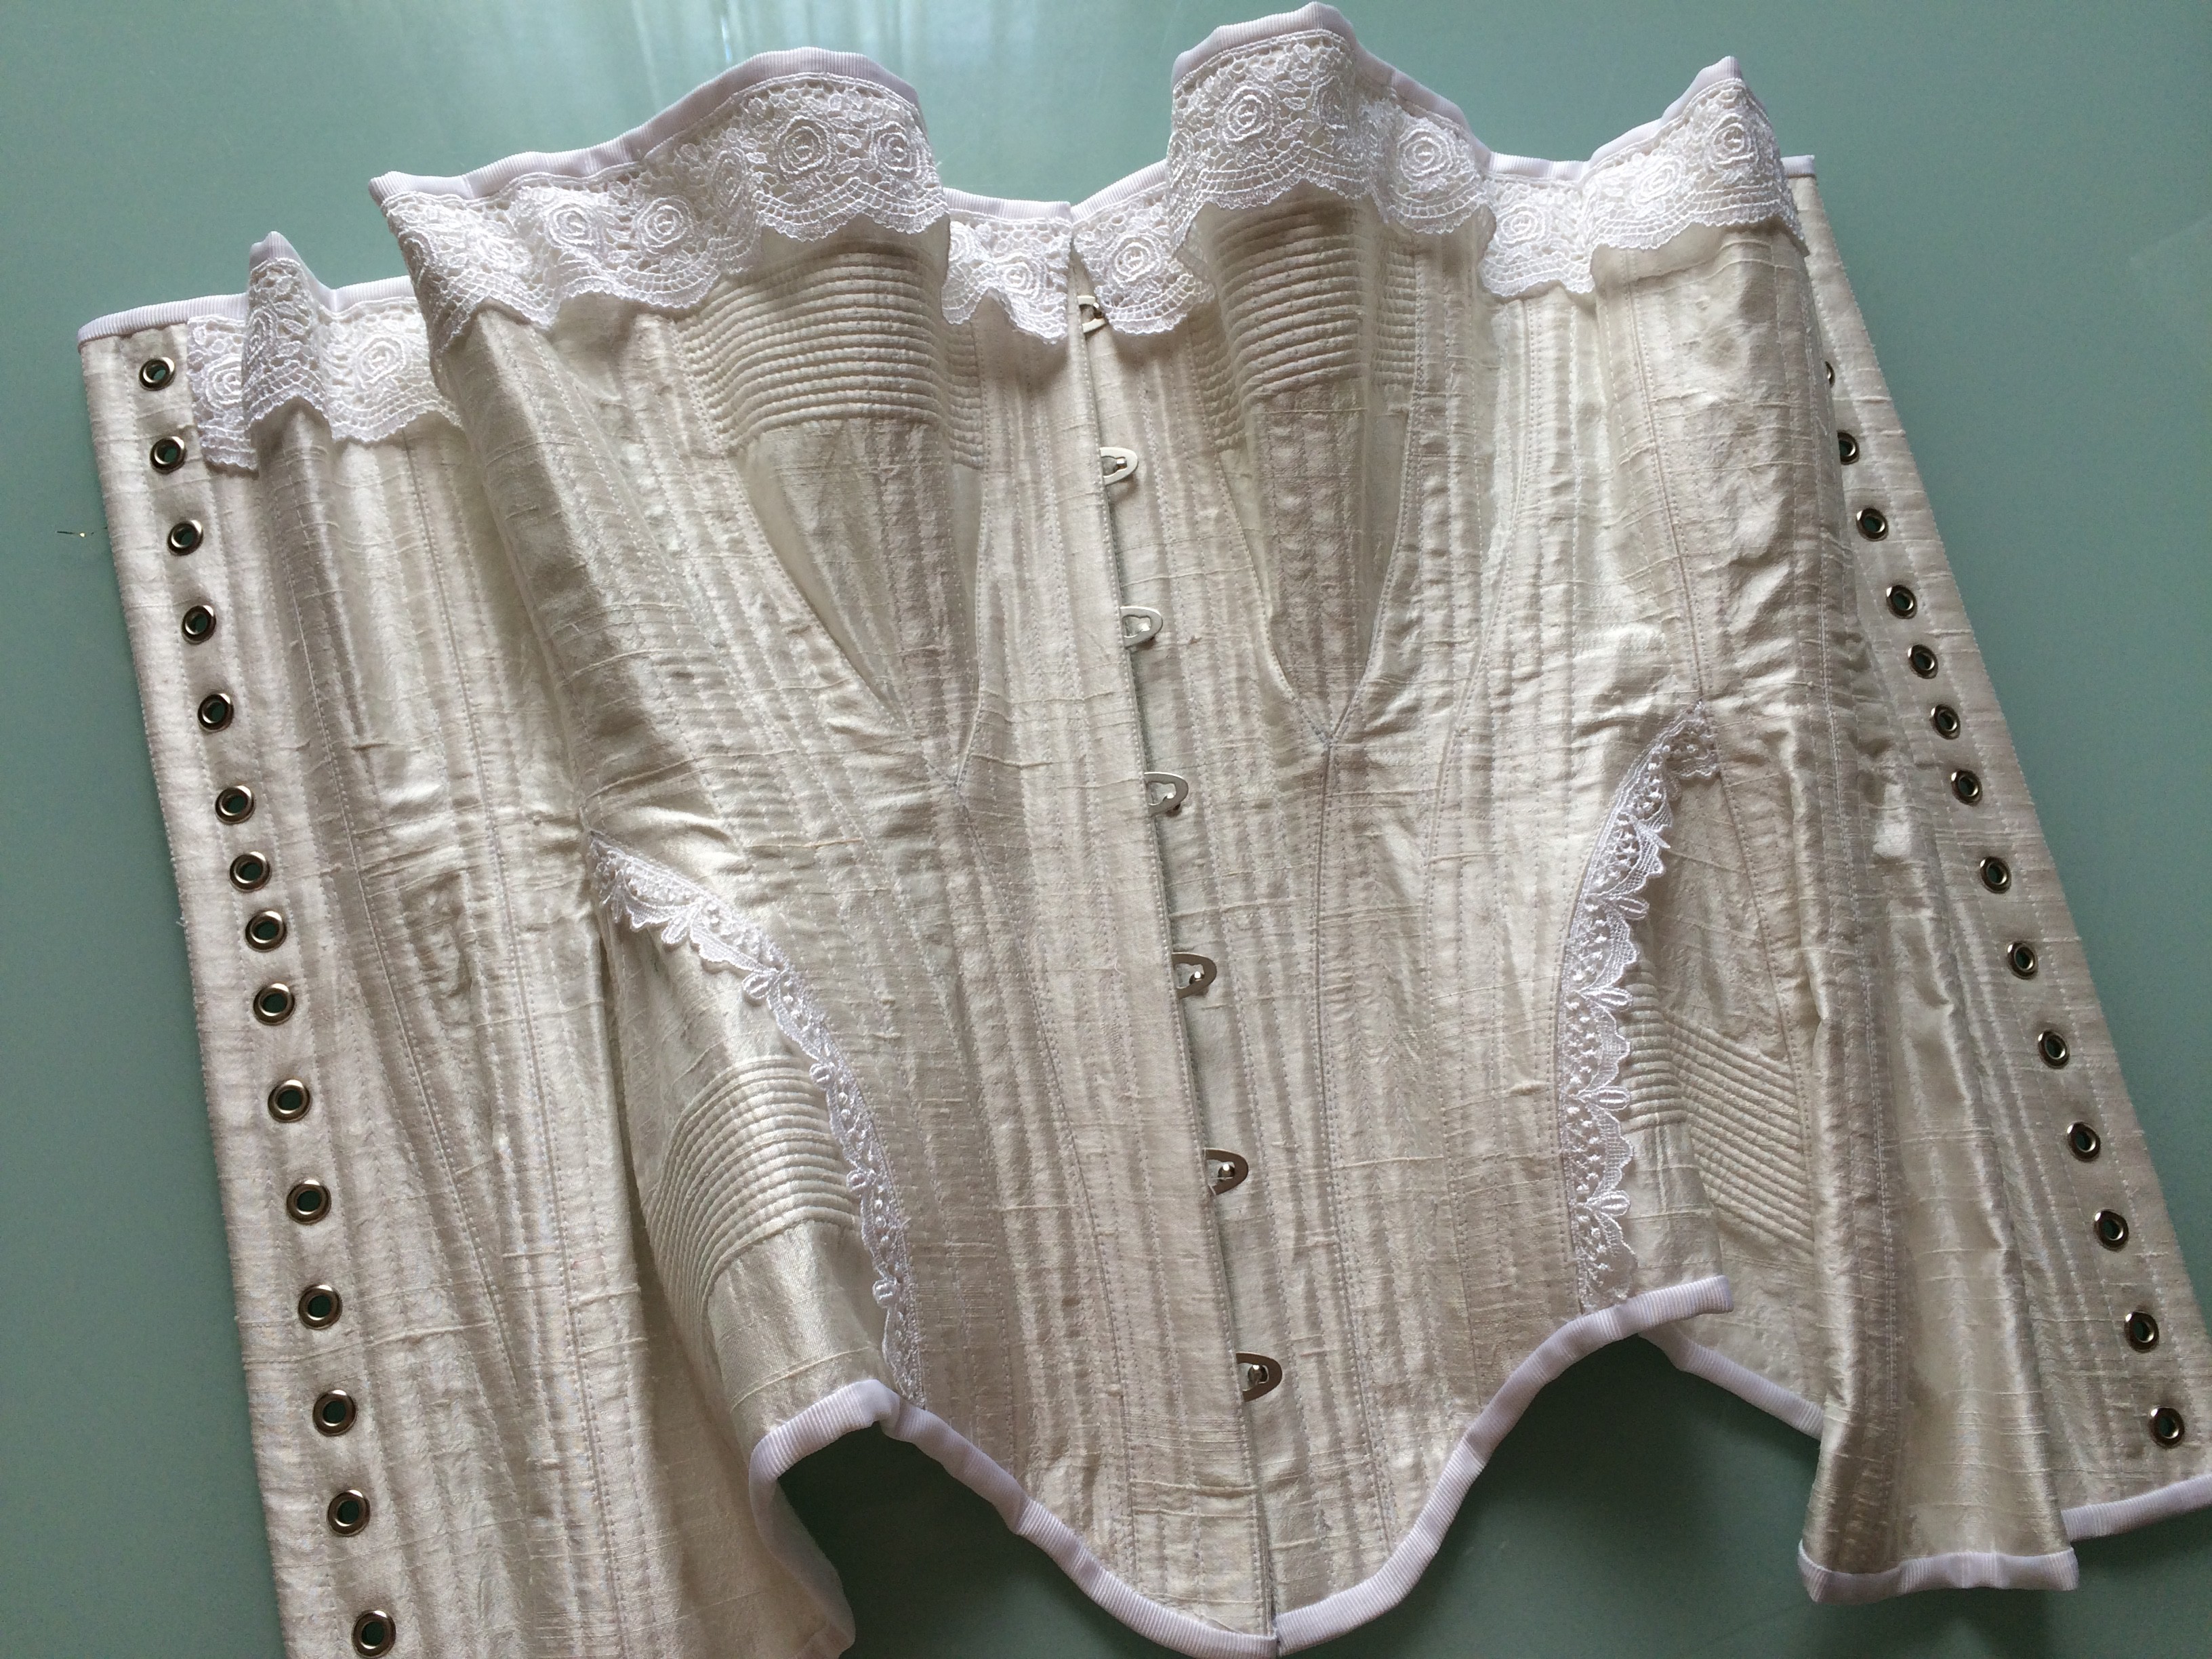
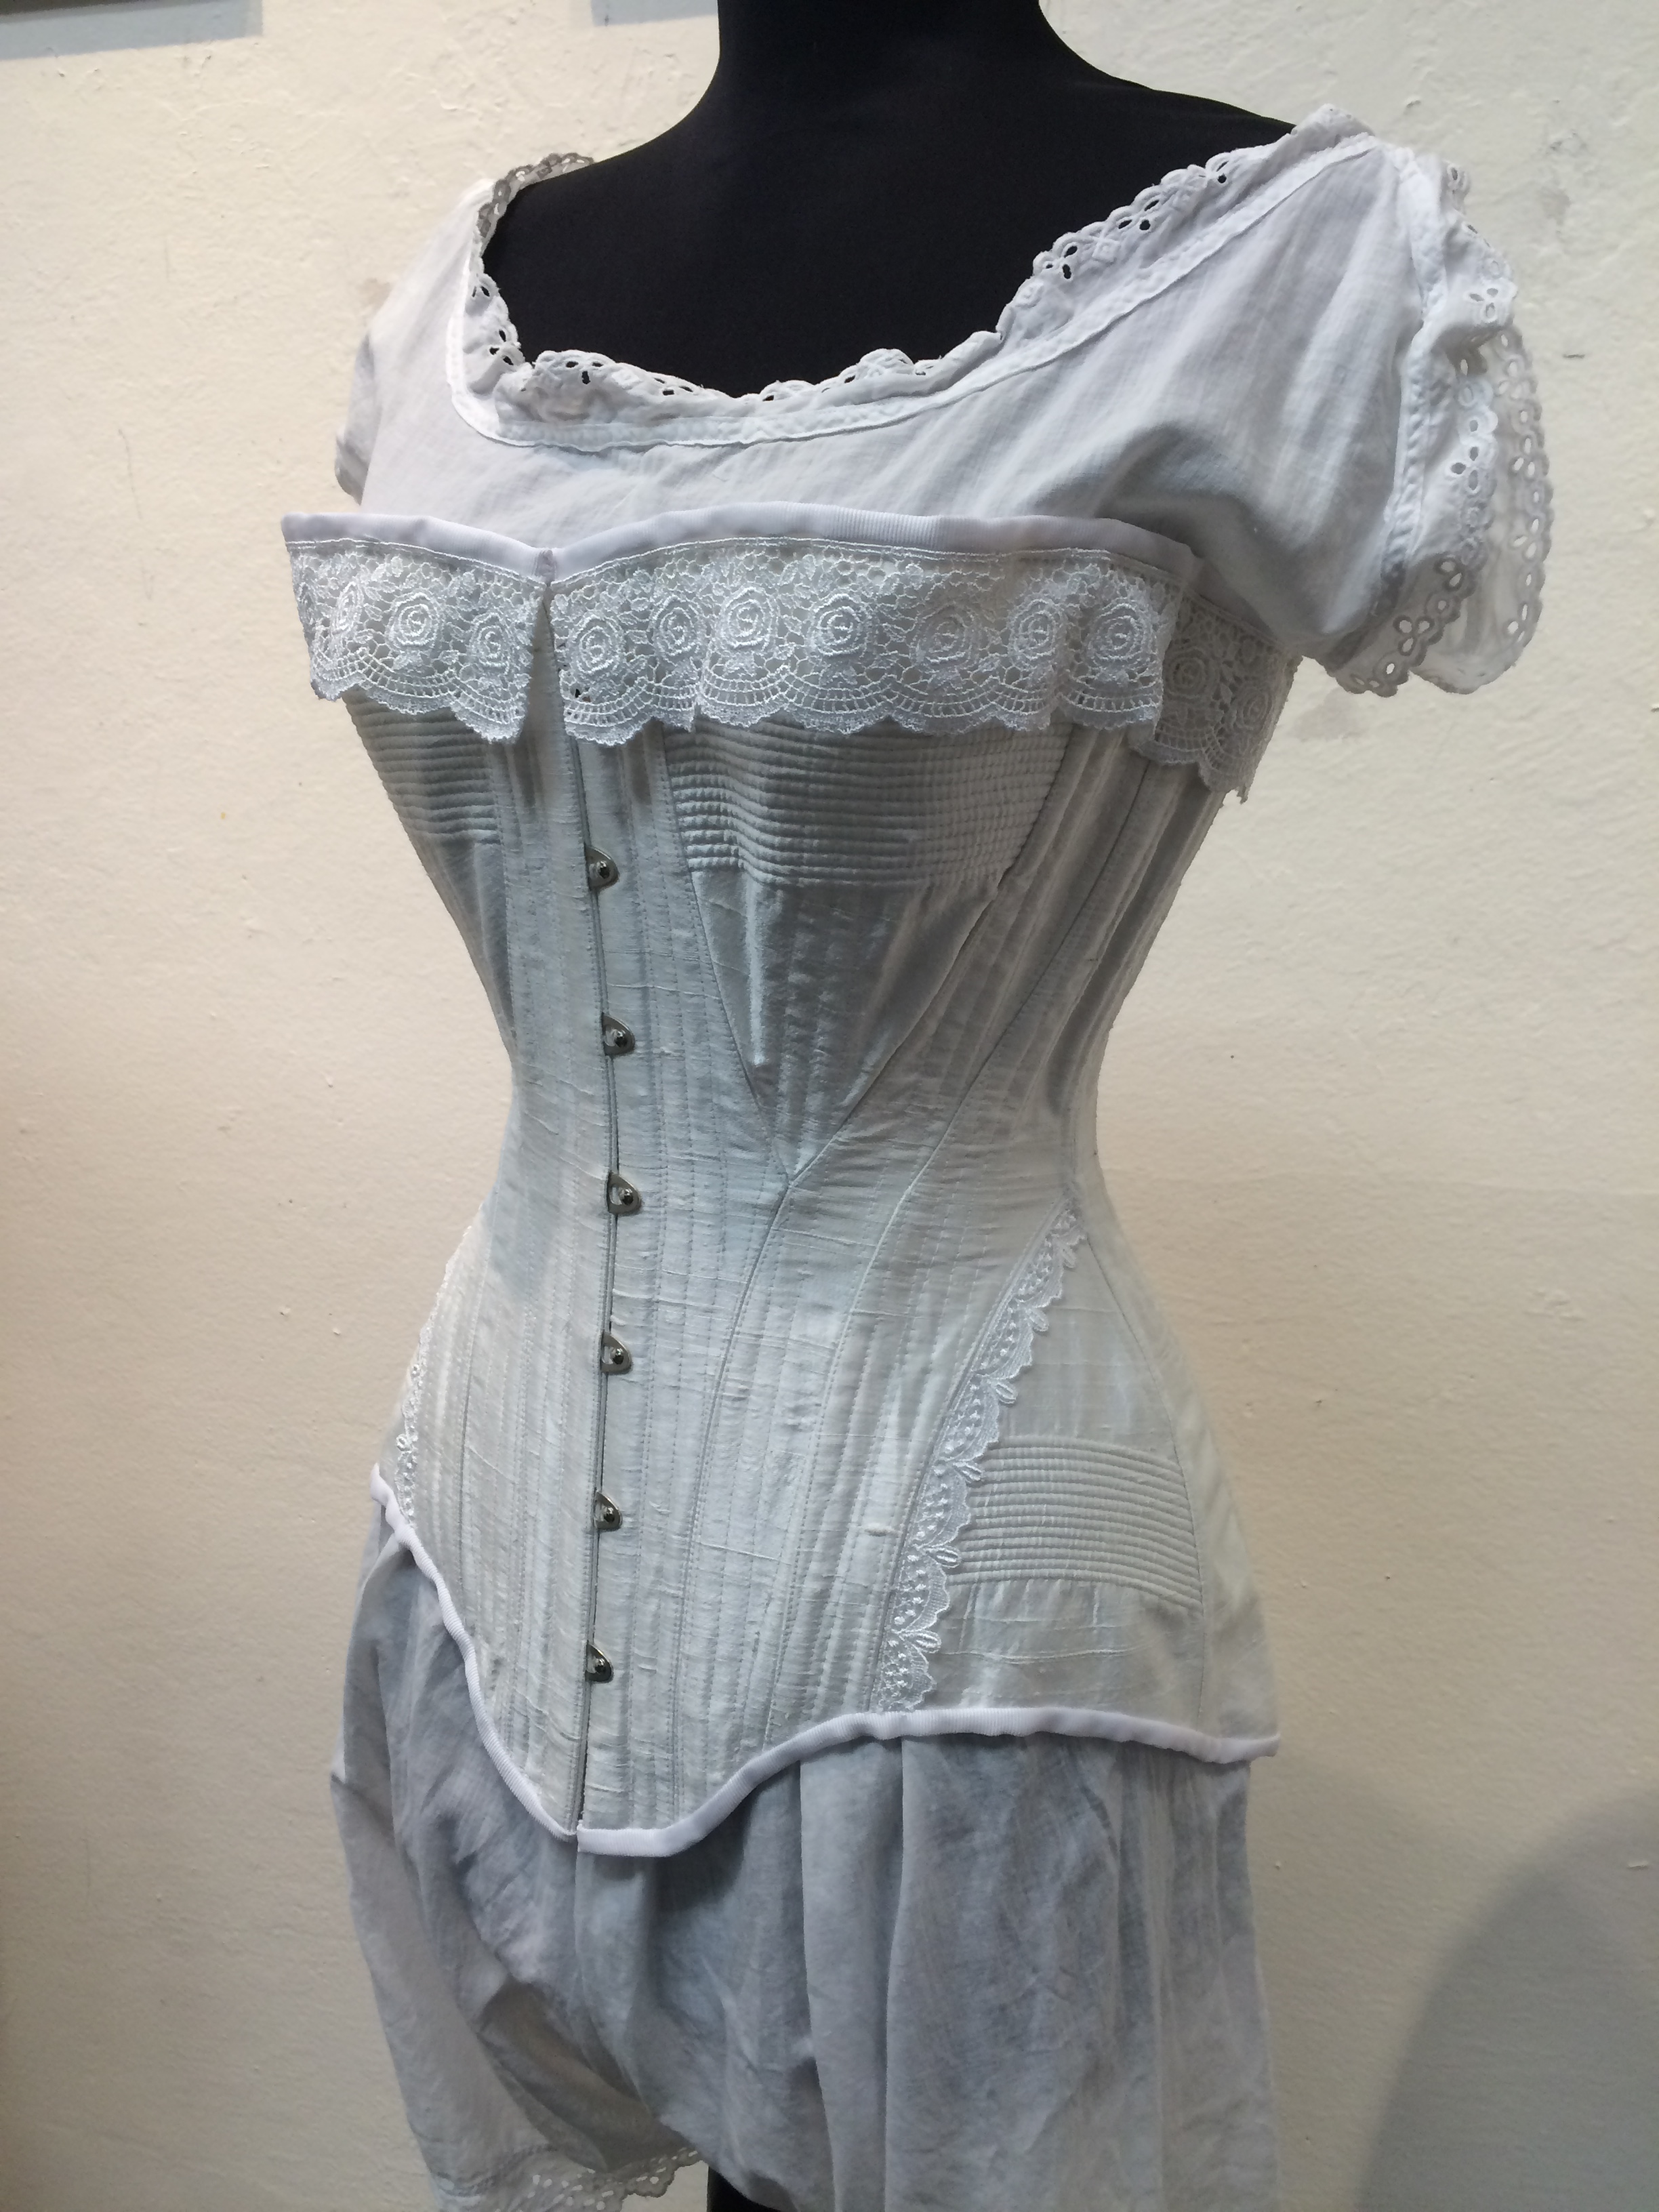
The last step was to insert bones, stitch the trim on by hand, and finish the edges. I’m happy with the end result, but wish I had chosen to create the bust and hip pads for display purposes. Maybe I’ll get that done this week.
Here is the final corset. I’ll take more photos once I have snuck over and added the pads underneath!


Lovved reading this thank you
LikeLike